how-to guide
How to Fix Cracked Concrete Driveway: Step-by-Step Guide
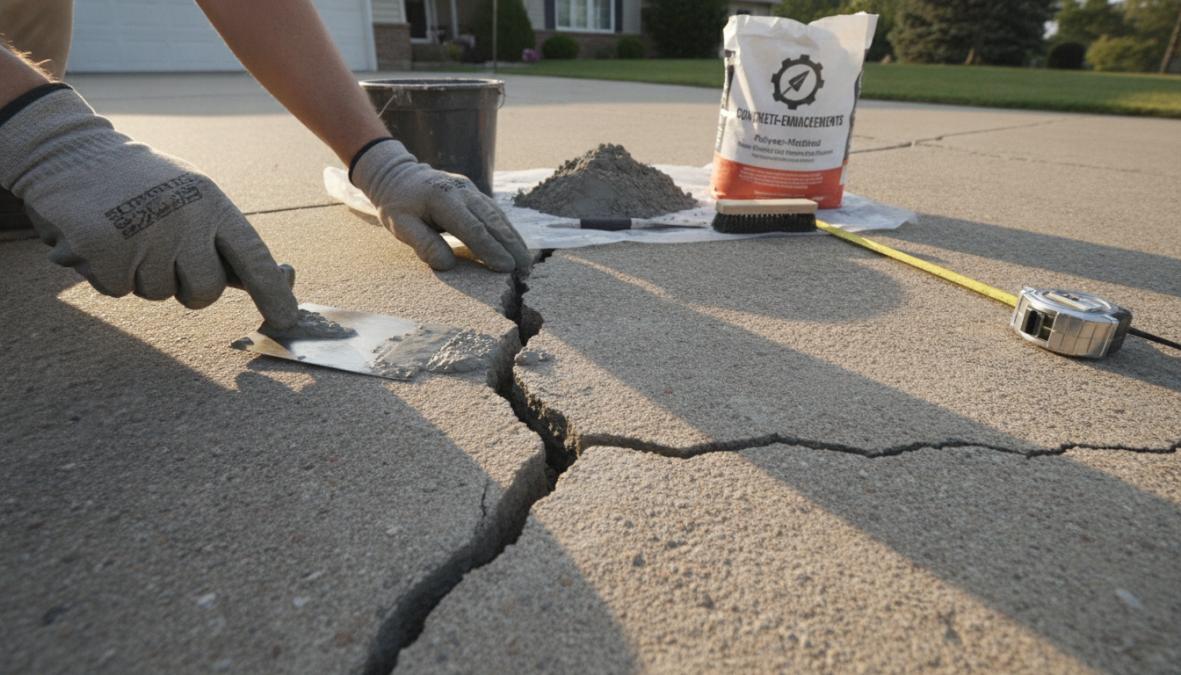
Table of Contents
- Understanding Concrete Driveway Cracks: Structural vs. Cosmetic
- What You'll Need: Tools and Materials for Driveway Repair
- Step-by-Step: How to Fix Cracked Concrete Driveway
- Best Concrete Crack Filler and Sealant Options
- Professional Concrete Repair vs. DIY: When to Call an Expert
- Concrete Crack Repair Cost: Budget Planning and Material Expenses
- Preventing Concrete Driveway Cracks: Long-Term Maintenance
- Common Mistakes to Avoid When Repairing Cracks
Last Updated: July 22, 2026
Understanding Concrete Driveway Cracks: Structural vs. Cosmetic
Not all cracks are created equal. Hairline cracks, thin, barely-visible lines, are typically cosmetic and result from minor concrete shrinkage during curing. Structural cracks are wider (typically over 1/4 inch), may have vertical or diagonal patterns, and indicate the concrete has shifted or settled unevenly beneath the surface.
The key difference is movement. Cosmetic cracks stay stable; structural cracks propagate, growing wider and longer as the underlying foundation continues to shift. Attempting a simple surface repair on a structural crack is ineffective because the root problem remains unresolved.
Assessing Crack Severity and Repair vs. Replace
Measure crack width at its widest point. Hairline cracks under 1/16 inch are candidates for liquid sealers alone. Cracks between 1/16 and 1/4 inch can be filled with patching compounds or polyurethane sealants. Anything wider than 1/4 inch requires backer rod installation before filling.
Depth matters as much as width. If a thin blade penetrates deeper than 1/2 inch, water can penetrate further, increasing freeze-thaw damage risk. Shallow surface cracks are primarily cosmetic.
Examine the crack pattern. Isolated cracks suggest localized issues like tree roots or settling in one area. Multiple cracks scattered across the entire surface indicate systemic problems, poor base preparation, inadequate drainage, or foundation settlement, making resurfacing or replacement more appropriate than spot repairs.
Climate-Specific Crack Patterns: Freeze-Thaw Cycles and Settling
In freeze-thaw regions, water seeps into concrete pores and cracks. When temperatures drop, water freezes and expands, widening cracks. This cycle repeats hundreds of times each winter, progressively damaging concrete. Research from the National Concrete Pavement Technology Center at Iowa State University shows proper sealing extends concrete driveway lifespan by 5-10 years in freeze-thaw environments.
Settling cracks typically appear as diagonal lines from corners toward the center or as vertical cracks along expansion joints. They result from uneven soil compaction beneath the driveway. Once settling begins, cracks may stabilize but often reopen seasonally as soil moisture changes.
In warm, dry climates without freeze-thaw concerns, cracking is driven by shrinkage and thermal expansion from daily temperature swings. These cracks tend to be more stable and better candidates for permanent repairs, though intense sun exposure degrades sealants faster, requiring more frequent reapplication.
What You'll Need: Tools and Materials for Driveway Repair
Essential Tools:
- Wire brush or stiff-bristled brush
- Pressure washer (1500-2500 PSI) or garden hose
- Shop vacuum or leaf blower
- Caulking gun
- Putty knife or trowel (4-6 inches wide)
- Measuring tape and straightedge
- Safety glasses and work gloves
Materials (varies by repair method):
- Concrete cleaner or degreaser
- Backer rod (foam rope) for wider cracks, typically 1/2 or 3/4 inch diameter
- Concrete crack filler or sealant (polyurethane, epoxy, or latex-based)
- Patching compound for larger voids
- Concrete bonding agent
Total material costs typically range from modest amounts for hairline cracks to higher costs for wider cracks requiring backer rod and premium sealants. Contact Concrete-Enhancements for specific estimates based on your driveway's condition.
Step-by-Step: How to Fix Cracked Concrete Driveway
The process follows a consistent sequence: preparation, filling, smoothing, and curing.
Step 1: Clean and Prepare the Surface
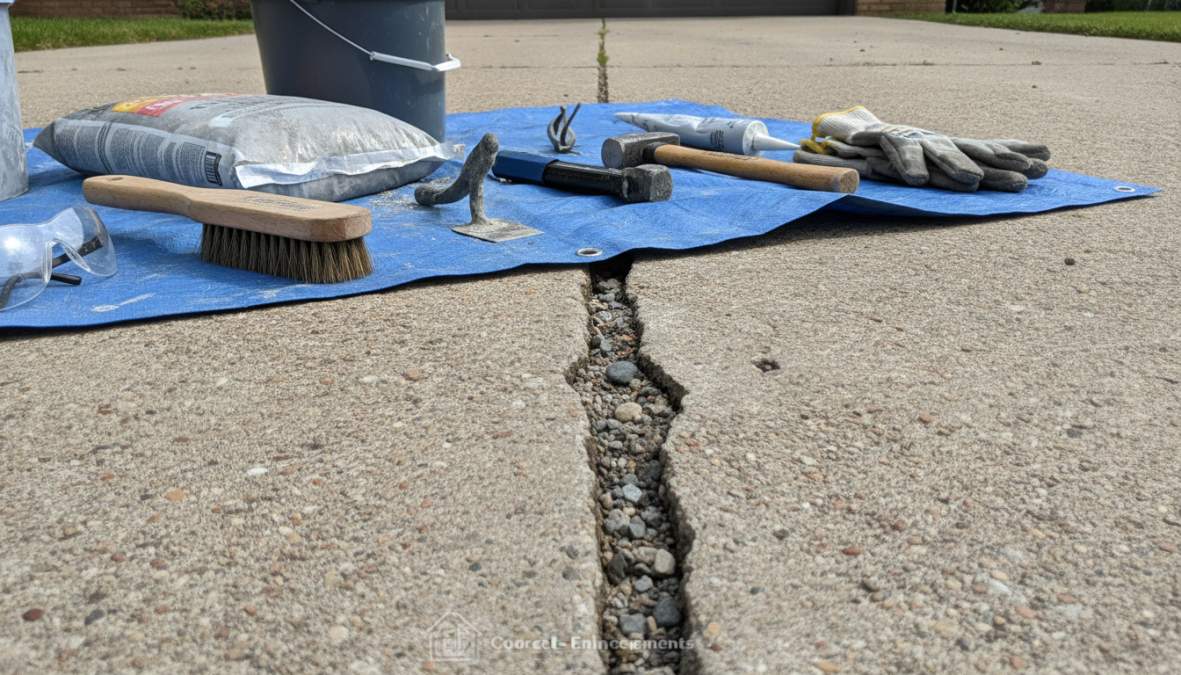
Cleaning is non-negotiable. Dirt, dust, oil, and debris inside the crack prevent sealants from bonding properly. Use a pressure washer set to 1500-2000 PSI, directing the nozzle into the crack at a 45-degree angle. If you lack a pressure washer, a stiff brush and garden hose work, though less effectively. Allow the crack to dry completely, typically 24-48 hours depending on humidity and temperature.
For oily stains or stubborn residue, apply concrete cleaner according to product instructions, scrub with a brush, rinse thoroughly, and allow to dry completely.
Step 2: Remove Debris and Use a Wire Brush
After pressure washing, use a stiff wire brush to scrub the inside edges of the crack, removing loose concrete, dust, and debris. For deeper cracks, use a concrete chisel to widen the crack slightly, creating a V-shaped profile that helps the filler bond more effectively. After brushing and chiseling, use a shop vacuum or compressed air to blow out all remaining dust.
Step 3: Apply Backer Rod for Wider Cracks
For cracks wider than 1/4 inch, use backer rod, a foam rope that fills the crack depth and provides a backing surface for the sealant. Select diameter slightly larger than crack width (typically 1/2 or 3/4 inch). Insert it using a putty knife, pushing it down so it sits slightly below the concrete surface, about 1/4 inch below the top. The backer rod should be snug but not stretched.
Step 4: Choose and Apply Your Filler or Sealant
Your choice depends on crack width. For hairline cracks, liquid sealers suffice. For wider cracks, polyurethane or epoxy fillers provide superior durability. For very wide cracks or voids, concrete patching compounds work best.
Before applying filler, apply concrete bonding agent to crack walls according to product instructions. Load your chosen filler into a caulking gun and apply it slowly into the crack, filling from bottom up. Overfilling is better than underfilling at this stage.
Step 5: Smooth and Finish with a Trowel
Immediately after filling, while material is still workable, use a putty knife or trowel to smooth the surface. Drag the tool along the crack with steady, even pressure, removing excess filler and creating a flush surface level with surrounding concrete. Create a smooth, slightly concave profile rather than perfectly flush.
Step 6: Allow Proper Curing Time
Different materials have different curing requirements. Most polyurethane and epoxy sealants require 24-48 hours before driving on the driveway. Concrete patching compounds typically cure in 24-72 hours depending on temperature and humidity. Check product instructions for your specific material. Keep the area clear of foot traffic and water during curing.
| Repair Stage | Duration | Critical Factor |
|---|---|---|
| Drying after cleaning | 24-48 hours | Humidity level |
| Filler application | 15-30 minutes | Material type |
| Initial set | 4-6 hours | Temperature |
| Full cure | 24-72 hours | Product specifications |
| Safe to drive | 48 hours | Material type |
Best Concrete Crack Filler and Sealant Options
Polyurethane vs. Epoxy: Durability and Application
Polyurethane sealants dominate residential driveway repair. They offer flexibility, durability, and ease of application. Polyurethane remains somewhat flexible after curing, allowing it to expand and contract with concrete as temperatures change. These products typically cost less than epoxy and can be applied by homeowners without special equipment.
Epoxy fillers cure to a harder, more rigid state, providing excellent durability for heavy-traffic areas. However, that rigidity means epoxy can crack again if underlying concrete continues to move. Epoxy products typically require more careful surface preparation and precise mixing ratios, and are more expensive.
For structural cracks where movement is ongoing, polyurethane's flexibility is advantageous. For stable, cosmetic cracks in light-traffic areas, epoxy's durability provides excellent results.
Liquid Stone and Patching Compound for Hairline Cracks
Liquid stone products, typically latex or acrylic-based sealers, are ideal for hairline cracks that don't require backer rod. These products flow into fine cracks and cure to a flexible, waterproof seal. They're the least expensive option and require minimal surface preparation beyond cleaning and drying.
Concrete patching compounds, thick putty-like products, are designed for larger voids and wider cracks. These products contain aggregate that provides strength and prevents significant shrinkage as they cure. Many homeowners find combining products yields the best results: use patching compound to fill large voids, then apply polyurethane sealant over the top for a waterproof seal and smooth finish.
Professional Concrete Repair vs. DIY: When to Call an Expert
DIY repairs work well for hairline cracks, isolated cracks under 1/4 inch wide, and cosmetic concerns where underlying concrete is structurally sound. Professional intervention becomes necessary when cracks are wider than 1/2 inch, show signs of active movement, cover large areas, or indicate underlying structural problems.
Concrete-Enhancements brings 20+ years of experience and professional-grade equipment to driveway repairs. We assess crack severity, identify underlying causes, and recommend whether repair or resurfacing makes sense for your situation. For structural issues or extensive cracking, professional concrete resurfacing often provides better long-term value than repeated DIY repairs.
Concrete Crack Repair Cost: Budget Planning and Material Expenses
Material costs for DIY repair vary based on crack width and chosen products. Hairline crack repairs using liquid sealers might cost under $20. Wider cracks requiring backer rod and polyurethane sealant typically run $30-75 depending on crack length and product quality.
For professional repairs, costs depend on cracking extent and repair method. Contact Concrete-Enhancements for a free estimate. Consider the long-term cost equation: a $50 DIY repair failing within a year costs more per year of durability than a $200 professional repair lasting five years.
Preventing Concrete Driveway Cracks: Long-Term Maintenance
Prevention is dramatically more cost-effective than repair.
Expansion Joints and Weatherproofing Strategies
Expansion joints allow concrete to expand and contract with temperature changes without cracking. Many driveways lack adequate expansion joints or have deteriorated ones. According to the American Concrete Pavement Association, properly sealed concrete driveways last significantly longer than unsealed ones, particularly in freeze-thaw regions.
Apply concrete sealer every 2-3 years, or more frequently if your driveway receives heavy sun exposure or harsh weather. Quality sealers create a water-resistant barrier preventing moisture from entering the concrete.
Regular Pressure Washing and Sealant Reapplication
Pressure wash your driveway annually to remove dirt, algae, and salt residue that accelerate deterioration. Use moderate pressure (1500-2000 PSI) to avoid damaging the surface.
Inspect for new cracks during cleaning sessions. Address small cracks before they widen. Reapply driveway sealant every 2-3 years as it degrades from UV and weather exposure, losing protective properties.
Common Mistakes to Avoid When Repairing Cracks
Skipping surface preparation: Dirty cracks and wet concrete prevent sealants from bonding properly. Invest time in thorough cleaning and complete drying before applying any filler.
Choosing the wrong material: Using liquid sealant on a 1/2-inch crack won't work. Match your material to crack width.
Applying filler to wet concrete: Moisture prevents bonding. Wait the full 24-48 hours after cleaning before filling.
Overfilling without smoothing: Excess filler standing above the concrete surface will eventually wear away or crack. Always smooth the repair flush or slightly recessed.
Not allowing proper cure time: Driving on a repair before full cure damages the seal and can dislodge the filler. Follow product instructions and add extra time in cool weather.
Ignoring underlying structural problems: If cracks keep reappearing in the same locations, something beneath the surface is causing them. Professional assessment becomes necessary to identify and address root causes.
Concrete driveway cracks are manageable with the right approach and materials. Hairline and small cracks respond well to DIY repairs when you follow proper preparation and application techniques. However, if cracks are extensive, show signs of active movement, or keep reappearing despite repairs, structural issues likely underlie the problem.
Concrete-Enhancements specializes in transforming damaged concrete through professional repair and resurfacing. With over 20 years of experience and CTi Certified Dealer status, we assess whether your driveway needs spot repair, full resurfacing, or a decorative overlay. Contact us at (919) 824-5403 or craigrfear@gmail.com for a free estimate.
Frequently Asked Questions
What's the best way to repair hairline cracks in a concrete driveway?
Hairline cracks are typically cosmetic and can be repaired with liquid stone or a concrete bonding agent applied with a caulking gun. Clean the crack thoroughly with a wire brush and pressure washer first. For hairline cracks, you usually won't need a backer rod, simply apply your chosen sealant directly into the crack and smooth it with a trowel. Allow adequate curing time based on your product's specifications before exposing the driveway to traffic or water.
How much does concrete crack repair cost, and what factors affect pricing?
Concrete crack repair cost depends on several factors: crack size and depth, filler type (polyurethane, epoxy, or patching compound), whether you hire a professional or DIY, and your location. Material costs vary widely. For accurate pricing on professional repair or resurfacing services, contact Concrete-Enhancements for a free estimate at (919) 824-5403 or craigrfear@gmail.com. They can assess your driveway and provide competitive pricing based on your specific repair needs.
When should I hire a professional instead of fixing the crack myself?
Hire a professional for structural cracks wider than 1/4 inch, cracks that run through the entire slab, or patterns indicating settling or foundation issues. If you lack tools like a pressure washer or caulking gun, or if you're unsure whether the crack is cosmetic or structural, professional assessment is worthwhile. Professionals also have access to commercial-grade sealants and resurfacing solutions that provide superior long-term durability compared to DIY repairs. Concrete-Enhancements offers free estimates to help you decide.
How do I prevent concrete driveway cracks from returning after repair?
Prevent future cracks by maintaining proper expansion joints, applying weatherproofing sealant every 2-3 years, and managing water drainage around your driveway. Regular pressure washing removes debris that traps moisture and accelerates deterioration. In freeze-thaw climates, ensure proper drainage to minimize water infiltration that causes spalling and cracking. Avoid heavy loads on new repairs until fully cured. Professional resurfacing or overlay solutions from Concrete-Enhancements can provide enhanced durability and prevent recurring cracks.
This article was written using GrandRanker
Frequently Asked Questions
Hairline cracks are typically cosmetic and can be repaired with liquid stone or a concrete bonding agent applied with a caulking gun. Clean the crack thoroughly with a wire brush and pressure washer first. For hairline cracks, you usually won't need a backer rod—simply apply your chosen sealant directly into the crack and smooth it with a trowel. Allow adequate curing time based on your product's specifications before exposing the driveway to traffic or water.
Concrete crack repair cost depends on several factors: crack size and depth, filler type (polyurethane, epoxy, or patching compound), whether you hire a professional or DIY, and your location. Material costs vary widely. For accurate pricing on professional repair or resurfacing services, contact Concrete-Enhancements for a free estimate at (919) 824-5403 or craigrfear@gmail.com. They can assess your driveway and provide competitive pricing based on your specific repair needs.
Hire a professional for structural cracks wider than 1/4 inch, cracks that run through the entire slab, or patterns indicating settling or foundation issues. If you lack tools like a pressure washer or caulking gun, or if you're unsure whether the crack is cosmetic or structural, professional assessment is worthwhile. Professionals also have access to commercial-grade sealants and resurfacing solutions that provide superior long-term durability compared to DIY repairs. Concrete-Enhancements offers free estimates to help you decide.
Prevent future cracks by maintaining proper expansion joints, applying weatherproofing sealant every 2-3 years, and managing water drainage around your driveway. Regular pressure washing removes debris that traps moisture and accelerates deterioration. In freeze-thaw climates, ensure proper drainage to minimize water infiltration that causes spalling and cracking. Avoid heavy loads on new repairs until fully cured. Professional resurfacing or overlay solutions from Concrete-Enhancements can provide enhanced durability and prevent recurring cracks.