how-to
Repairing Hairline Cracks in Epoxy Floors: A Step-by-Step Guide
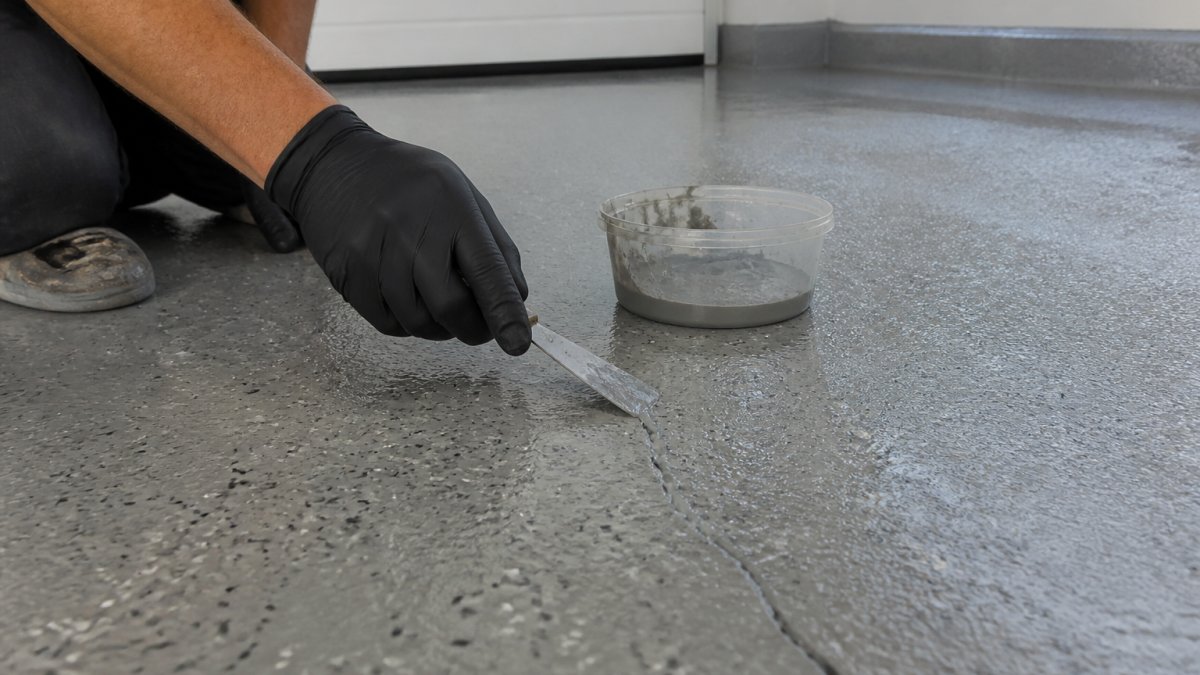
Table of Contents
- Why Hairline Cracks Form in Epoxy Floors
- How to Prep Concrete for Epoxy Crack Repair
- Identifying Hairline vs. Structural Damage
- Choosing the Best Epoxy Crack Filler for Concrete
- Step-by-Step Repair Process
- Curing Times and Temperature Considerations
- Cost of Professional Epoxy Floor Repair
- Preventing Future Cracks in Epoxy Floors
- Frequently Asked Questions
Last Updated: September 27, 2026
Why Hairline Cracks Form in Epoxy Floors
Understanding what causes hairline cracks in epoxy floors helps you prevent future damage and repair existing cracks correctly.
When concrete underneath moves, shifts, or settles unevenly, stress builds up in the epoxy layer above. Temperature swings, moisture vapor rising from below, heavy equipment, and normal building settlement all trigger hairline cracks over time.
The most common cause is poor surface preparation before epoxy application. Dirt, dust, or moisture on the concrete prevents proper bonding, causing the epoxy to fail first as a hairline crack when stress hits.
Structural cracks indicate concrete failure and run deep; hairline cracks are surface-level epoxy problems. Repairing hairline cracks in epoxy floors is straightforward if caught early.
How to Prep Concrete for Epoxy Crack Repair
Surface preparation determines whether your repair lasts or fails within months.
Clean the crack thoroughly with a shop vacuum and floor scraper to remove all loose debris, dust, and flaking epoxy.
Grind the crack edges with medium-grit abrasive to roughen the concrete substrate and create a mechanical bond for filler material. Work carefully to avoid enlarging the crack.
Vacuum thoroughly after grinding to remove all dust, which prevents bonding. Let the area dry completely; concrete should be dry to the touch.
Identifying Hairline vs. Structural Damage
Not every crack is the same. Knowing the difference changes how you repair it.
Hairline cracks are thin, surface-level breaks in the epoxy coating, typically less than 1/16 inch wide. You can run your fingernail across one without catching. They appear as fine lines, often following existing concrete joints.
Structural cracks are wider than 1/4 inch with clear depth and texture. They show signs of concrete movement, may leak water, and often have missing chunks of concrete or epoxy around the edges.
The key difference: hairline cracks stay in the epoxy layer. Structural cracks go through the epoxy and into the concrete itself. If the concrete beneath is damaged, the problem runs deeper than a simple surface repair.
To test a crack, shine a bright light across it at an angle, hairline cracks cast minimal shadow while structural cracks show clear depth. Or use a thin wire: hairline cracks won't accept much thickness while structural cracks accept thicker probes.
Repairing hairline cracks in epoxy floors works well when the concrete base is solid. Structural issues require professional inspection and different solutions like concrete injection or full overlay.
Choosing the Best Epoxy Crack Filler for Concrete
The right filler material makes the difference between a repair that lasts years and one that fails in months.
Low-Viscosity Epoxy Resins
Low-viscosity epoxy is the most popular choice for hairline cracks. It flows easily into tight spaces and hardens to a strong, durable finish when mixed correctly.
Low-viscosity epoxy seeps deep into hairline cracks, filling the entire void and creating a strong mechanical bond with the concrete substrate.
Mix ratios matter, follow manufacturer's instructions exactly. Wrong ratios cause incomplete curing or weak bonds. Measure by volume or weight, not by eye.
Curing time varies from 24 to 72 hours depending on temperature. Warmer conditions speed curing; cold temperatures slow it significantly. Plan repairs during moderate weather if possible.
Polyurethane and Polyurea Options
Polyurethane and polyurea fillers are more flexible than epoxy and resist moisture better. Polyurea cures fastest, in 4-8 hours instead of 24-48.
Polyurethane works well for moisture-exposed areas like pool decks and garage floors. Surface prep remains critical since it doesn't bond as aggressively as epoxy.
Polyurea is the fastest-curing option, useful for commercial spaces needing quick turnaround, though it costs more than epoxy.
Choose based on your situation. For standard indoor cracks in dry areas, low-viscosity epoxy works great. For wet areas or high-traffic commercial spaces, polyurethane or polyurea offer better performance.
Step-by-Step Repair Process
Follow these steps in order. Skipping or rushing any step reduces success.
Step 1: Clean and Vacuum the Crack
Remove all loose material with a shop vacuum. Use compressed air for stubborn debris, then wipe with a clean, dry cloth. Any particles left behind will create weak points.
Call (919) 824-5403 or email craigrfear@gmail.com for a free estimate →
Step 2: Grind the Crack Edges
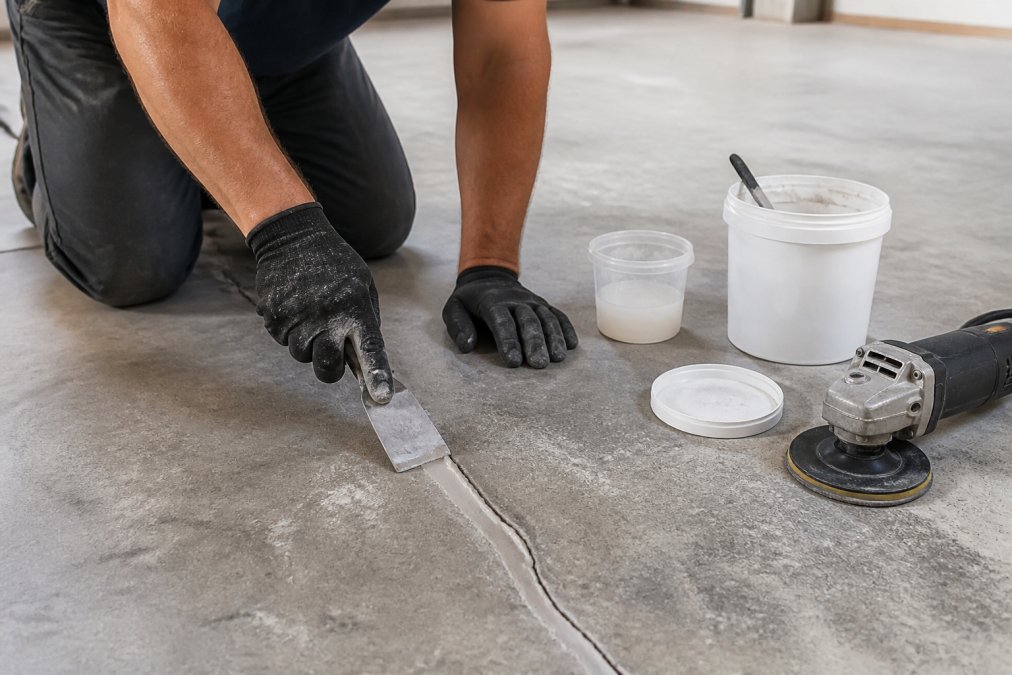
Use a grinding tool with medium grit to roughen the concrete substrate. Work slowly for 30-60 seconds per linear foot. Vacuum immediately after grinding to remove all fine dust.
Step 3: Apply Bonding Agent
A bonding agent improves adhesion and is recommended for polyurethane or polyurea. Apply a thin coat and let it set per product instructions (usually 10-30 minutes) until tacky but not fully dry.
Step 4: Mix and Apply Filler
Mix your epoxy, polyurethane, or polyurea according to instructions. Measure carefully. Use a mixing stick and stir for at least two minutes. Make sure the hardener is fully blended with the resin. Streaks or swirls mean incomplete mixing.
Pour the mixed filler into the crack using a squeeze bottle or applicator. Work slowly to avoid trapping air bubbles. Fill the crack slightly overfull, material will shrink as it cures.
For deep cracks, apply in layers. Fill halfway, let it set for 10-15 minutes, then add the second layer. This prevents air pockets in the middle.
Smooth the surface with a putty knife. Push excess material level with the surrounding floor. Work quickly before the material starts to set. Most fillers begin hardening within 30-60 minutes.
Step 5: Sand and Blend the Repair
Once the filler cures fully, sand the repair smooth. Use medium-grit sandpaper (120-150 grit) first. Sand until the repair is level with the surrounding floor. The surface should be smooth and flush.
Switch to fine-grit sandpaper (220+ grit) for the final finish. This removes scratches from the medium grit. The goal is a seamless transition between the repair and the existing floor.
Vacuum all sanding dust. Any particles left behind will show through a topcoat.
Step 6: Color Matching and Blending
This is where many repairs fail visually. The filler color doesn't match the surrounding floor. The repair becomes an obvious dark spot or light patch.
If your floor has a solid color, match the filler color to it. Some epoxy and polyurethane fillers come in standard colors. If your floor is a custom color, you may need to tint the filler. Mix pigments into the resin before adding hardener. Test the color on a scrap first.
For decorative flake floors or metallic finishes, blending is harder. The filler goes in without flakes or metallic particles. The repair will look different from the surrounding floor. Some professionals apply a thin layer of matching topcoat over the repair area. This helps hide the color difference and provides UV protection.
Sand the repair area slightly before topcoat. This helps the new coat bond. Apply the topcoat per manufacturer's instructions. One thin coat usually works better than one thick coat.
Step 7: Apply Topcoat
A protective topcoat extends the life of your repair. It shields the filler from UV damage, moisture, and foot traffic. Use a topcoat designed for your floor type.
Apply the topcoat in a thin, even layer. Use a roller or brush depending on the product. Follow cure times before allowing foot traffic. Most topcoats cure in 24-48 hours.
For high-traffic areas, consider a second topcoat layer. This doubles the protection and extends the repair's lifespan.
Curing Times and Temperature Considerations
Temperature controls how fast your repair hardens. Cold slows curing. Heat speeds it up.
Most epoxy fillers cure in 24 hours at room temperature (68-72°F).
Cost of Professional Epoxy Floor Repair
Professional repair costs depend on crack size, location, and floor type. Small hairline cracks cost less than large structural repairs. Decorative floors with custom colors cost more than basic epoxy.
Preventing Future Cracks in Epoxy Floors
Prevention is easier than repair. Address these issues to keep your floor crack-free.
Frequently Asked Questions
Can you repair hairline cracks in epoxy floors without redoing the whole floor?
Yes. Hairline cracks in epoxy floors can be repaired without a full resurface. The repair process involves cleaning the crack, applying a low-viscosity epoxy or polyurethane filler, sanding smooth, and color-matching the topcoat. This approach works well for isolated cracks and preserves the existing floor structure. However, if cracks are widespread or indicate substrate movement, a full assessment is needed to determine whether a complete epoxy recoating is more cost-effective long-term.
What causes hairline cracks to appear in epoxy flooring?
Hairline cracks typically result from substrate movement, temperature fluctuations, or inadequate surface preparation before the epoxy was applied. Concrete naturally expands and contracts with temperature changes, and if the epoxy lacks proper bonding to the substrate or the concrete has moisture vapor issues, cracks develop. Poor curing conditions, impacts to the floor, or pre-existing cracks in the concrete that were not addressed before epoxy application also cause hairline fractures.
What is the best epoxy crack filler for concrete before applying epoxy?
Low-viscosity epoxy resins are typically the best choice for hairline cracks because they flow into tight spaces and create a strong mechanical bond. Polyurethane and polyurea fillers are also effective and offer flexibility, which helps them withstand substrate movement. The choice depends on your floor type: decorative flake floors may require color-matched epoxy putty for seamless blending, while industrial floors benefit from pressure-injected low-viscosity epoxy for maximum structural integrity.
Do I need to grind down my epoxy floor to fix small cracks?
Grinding is recommended but not always necessary for small hairline cracks. Light grinding (120-150 grit) helps create a mechanical bond and removes any loose epoxy around the crack edges. For decorative or metallic floors, careful grinding ensures the repair blends with the existing texture. If the crack is very shallow and isolated, vacuuming and solvent-based cleaning may be sufficient before applying filler, though grinding provides better long-term durability.
Tags: repairing hairline cracks in epoxy floors, best epoxy crack filler for concrete, how to prep concrete for epoxy, cost of professional epoxy floor repair
Frequently Asked Questions
Yes. Hairline cracks in epoxy floors can be repaired without a full resurface. The repair process involves cleaning the crack, applying a low-viscosity epoxy or polyurethane filler, sanding smooth, and color-matching the topcoat. This approach works well for isolated cracks and preserves the existing floor structure. However, if cracks are widespread or indicate substrate movement, a full assessment is needed to determine whether a complete epoxy recoating is more cost-effective long-term.
Hairline cracks typically result from substrate movement, temperature fluctuations, or inadequate surface preparation before the epoxy was applied. Concrete naturally expands and contracts with temperature changes, and if the epoxy lacks proper bonding to the substrate or the concrete has moisture vapor issues, cracks develop. Poor curing conditions, impacts to the floor, or pre-existing cracks in the concrete that were not addressed before epoxy application also cause hairline fractures.
Low-viscosity epoxy resins are typically the best choice for hairline cracks because they flow into tight spaces and create a strong mechanical bond. Polyurethane and polyurea fillers are also effective and offer flexibility, which helps them withstand substrate movement. The choice depends on your floor type: decorative flake floors may require color-matched epoxy putty for seamless blending, while industrial floors benefit from pressure-injected low-viscosity epoxy for maximum structural integrity.
Grinding is recommended but not always necessary for small hairline cracks. Light grinding (120-150 grit) helps create a mechanical bond and removes any loose epoxy around the crack edges. For decorative or metallic floors, careful grinding ensures the repair blends with the existing texture. If the crack is very shallow and isolated, vacuuming and solvent-based cleaning may be sufficient before applying filler, though grinding provides better long-term durability.