how-to
How to Fix Uneven Concrete for Epoxy (2026 Guide)
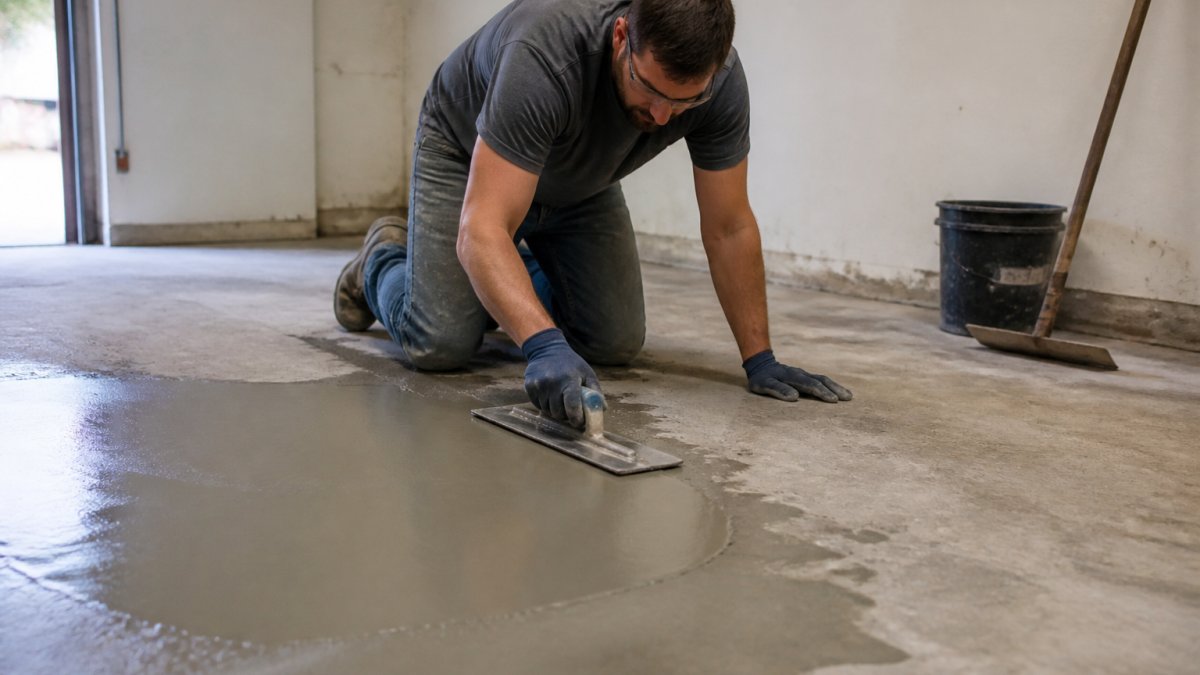
Table of Contents
- Why Uneven Concrete Ruins an Epoxy Floor
- How to Fix Uneven Concrete for Epoxy: Step-by-Step
- Grinding High Spots in Concrete
- Repairing Cracks in Concrete Before Epoxy
- Self-Leveling Concrete Under Epoxy
- How Long Concrete Patch Takes to Cure
- Common Mistakes That Cause Epoxy to Fail
- When to Call a Professional
- Frequently Asked Questions
Last Updated: October 6, 2026
Why Uneven Concrete Ruins an Epoxy Floor
Epoxy is unforgiving. It is a thin coating, and it shows every flaw in the slab beneath it.
That is the core problem with learning how to fix uneven concrete for epoxy. The resin does not level itself. It follows the shape of the floor, so every dip, ridge, and crack telegraphs straight through the finish.
Here is what most people get wrong: they blame the epoxy when it fails. In practice, the slab is almost always the culprit.
A floor that is out of flat by more than a small margin will pool coating in the low spots and starve the high spots. Pools cure soft. Starved spots cure thin and peel. Both look terrible within a year.
At Concrete-Enhancements, we have resurfaced concrete for over 20 years, and we see the same pattern on failed DIY jobs. The homeowner picked a good product. They just skipped the prep that makes it stick.
Below, we break down exactly how to check your floor, fix the high and low spots, and prep the slab so the coating lasts.
How to Fix Uneven Concrete for Epoxy: Step-by-Step
The fix follows a clear order: check flatness, prep the surface, then correct the high and low spots.
Get the sequence wrong and you waste money. Grinding before you have mapped the floor, for example, means you grind the wrong areas.
Here is the short version of the process:
- Check flatness with a straightedge and a level
- Mark every high and low spot
- Clean and prep the surface
- Grind down the high spots
- Fill cracks and low spots
- Let patches cure fully
- Test flatness again before coating
That is the whole job in seven steps. The rest of this guide fills in the details.
Step 1: Check the Floor for Flatness
Start by finding out how uneven the floor really is. You cannot fix what you have not measured.
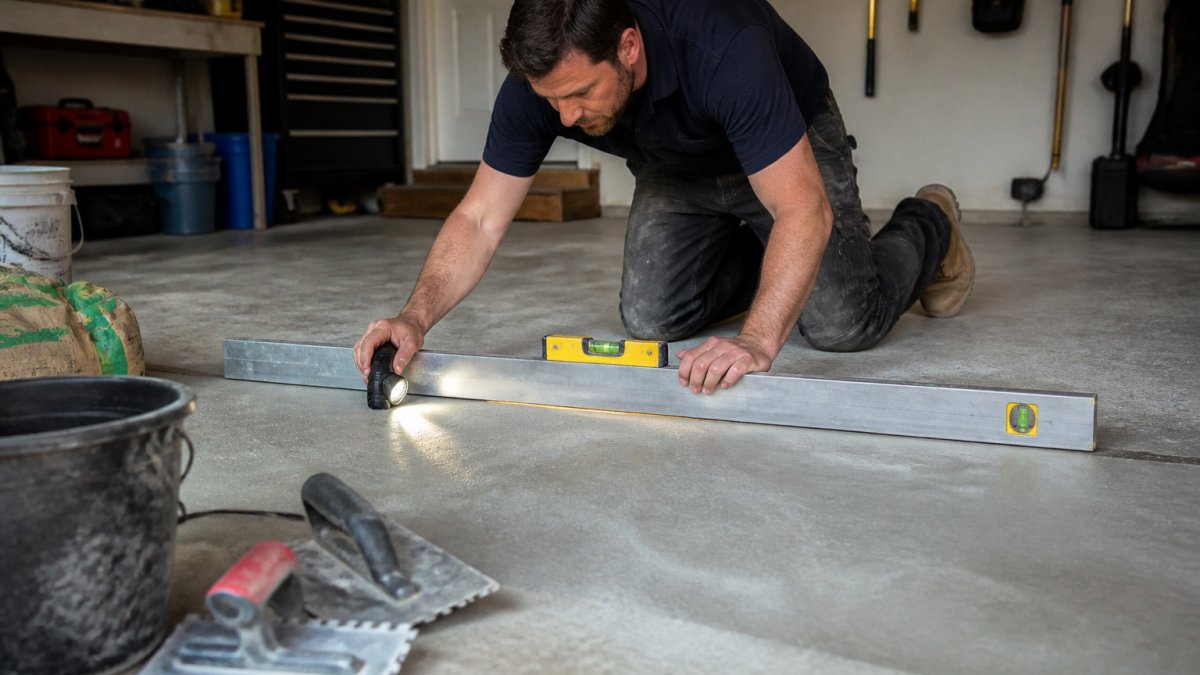
Use a long straightedge, at least 6 feet, and a spirit level. Drag it across the floor in a grid pattern.
Slide a feeler gauge or a thin shim under the edge. The gap tells you how far off the slab is.
Mark every problem area with chalk. High spots get one mark. Low spots get another. This map drives every decision that follows.
A common mistake is checking only the middle of the room. Corners and doorways are where trouble hides.
Step 2: Prep the Surface
Prep is where most coatings live or die. A clean, open surface gives epoxy something to grab.
- Remove all dust, dirt, and grease
- Scrape off old paint, sealer, or adhesive
- Degrease oil-stained areas
- Vacuum with a shop vac, not a broom
- Etch or grind to open the concrete pores
A broom just moves dust around. A shop vac removes it.
If you skip degreasing, the coating will fish-eye and pull away from the slab. That is a do-over.
Grinding High Spots in Concrete
Grinding is how you bring down the peaks. A high spot is any area where the slab sits above the surrounding floor.
You have two tools for this job. A hand-held grinder works for small ridges and edges. A walk-behind grinder covers large areas faster.
Work in passes. Do not try to remove everything in one go.
- Run the grinder in a crisscross pattern
- Check flatness every few passes
- Stop when the high spot meets the surrounding floor
- Vacuum dust as you work
The goal is not a perfectly smooth floor. The goal is a floor that is flat enough for a thin coating.
What most guides miss is that grinding also opens the concrete pores. That texture helps the epoxy bond. So grinding does double duty here.
OSHA guidance on controlling silica dust during concrete grinding matters if you grind indoors. Concrete dust contains silica, so wear a respirator and use dust control.
Repairing Cracks in Concrete Before Epoxy
Cracks are not just ugly. They are a path for moisture and a place for the coating to split.
Fix them before you coat, or the crack will reappear through the epoxy.
The method depends on the crack:
Call (919) 824-5403 or email craigrfear@gmail.com for a free estimate →
| Crack Type | Width | Fix |
|---|---|---|
| Hairline | Under 1/16 inch | Fill with a thin epoxy crack filler |
| Medium | 1/16 to 1/4 inch | Use a pourable crack sealer |
| Wide | Over 1/4 inch | Clean out and fill with patching compound |
| Moving | Any width | Route out and fill with a flexible sealant |
For most cracks, the steps are the same:
- Clean the crack with a wire brush
- Blow or vacuum out the debris
- Apply the filler and overfill slightly
- Let it cure, then grind it flush
A common mistake is filling a crack without cleaning it first. Dust and loose chips stop the filler from bonding.
If a crack keeps coming back, it is moving with the slab. That is a sign to call a pro.
Self-Leveling Concrete Under Epoxy
Self-leveling concrete is a pourable compound that flows out to create a flat surface. It is the go-to fix for low spots and wide dips.
You mix it, pour it, and spread it with a squeegee or spike roller. It finds its own level as it cures.
A few things decide whether it works:
- The slab must be clean and primed
- The mix must be the right consistency
- You must work fast before it sets
- The room needs to be out of direct sun and drafts
Self-leveling compound is not a cure-all. It is meant for filling low spots, not for building up a floor by inches. Deep pours need a different product.
Also, it must be fully cured before epoxy goes on top. Skip that and trapped moisture will push the coating off.
How Long Concrete Patch Takes to Cure
Cure time depends on the product and the conditions. There is no single answer.
Most patching compounds need about 24 hours before you can walk on them. Full cure for coating often takes longer.
Here is what changes the timeline:
- Product type: fast-set patches cure in hours, standard ones take a day or more
- Temperature: cold slows curing, warmth speeds it up
- Humidity: damp air slows the process
- Thickness: thick patches take longer than thin ones
Always read the label. The maker's cure time beats any rule of thumb.
A moisture test before coating is not optional. If the patch is still damp, the epoxy will fail.
American Concrete Institute guidance on concrete repair and moisture testing is a solid reference if you want the technical detail.
Common Mistakes That Cause Epoxy to Fail
Most epoxy failures trace back to the slab, not the coating. Here are the ones we see most.
- Coating over a damp slab
- Skipping dust and oil removal
- Filling cracks without cleaning them
- Grinding unevenly and creating new dips
- Coating before the patch is fully cured
- Applying too thin a coat over high spots
- Ignoring a moving crack
Each one leads to the same result: peeling, bubbling, or splitting.
The fix is patience. Do the prep work, test the flatness, and wait for patches to cure. Rushing the job costs more than doing it right.
When to Call a Professional
Some floors are beyond a DIY fix. Knowing when to stop saves you money.
Call a pro if you see any of these:
- The slab is out of flat by more than a small margin across the whole floor
- Cracks keep returning after you fill them
- There is standing moisture or a wet basement
- The area is large, over a few hundred square feet
- You need a finish that meets a safety or maintenance standard
Large commercial floors, warehouses, and showrooms need heavy-duty equipment and moisture testing. That is not a weekend project.
This is where we come in. Concrete-Enhancements is a CTi Certified Dealer with over 20 years of experience across the Raleigh-Durham Triangle, NC Triad, and Coastal SC. We handle decorative overlays, epoxy coatings, and professional concrete repair.
We map the floor, fix the high and low spots, and prep the slab so the coating lasts. No guesswork, no peeling.
Uneven concrete is the reason most epoxy floors fail, and it is the one thing most people skip. If your slab is too far out of flat, or the cracks keep coming back, a DIY patch may not hold. That is the point where a pro saves you a costly redo. Concrete-Enhancements brings 20+ years of experience, CTi Certified Dealer status, and full repair and coating services to every job. Get started with Concrete-Enhancements and get a floor that stays flat and holds its finish. Call (919) 824-5403 or email craigrfear@gmail.com for a free estimate.
Frequently Asked Questions
Can epoxy be applied over uneven concrete?
No. Epoxy is a thin coating that follows the contour of the slab, so any unevenness will show through and can cause premature wear or peeling. You must fix uneven concrete before applying epoxy. If the floor is not flat, you'll need to grind high spots, fill low spots with a patching compound or self-leveling concrete, and repair cracks. Skipping this step is the top reason DIY epoxy floors fail within a year or two.
How do you level a concrete floor before applying epoxy?
Start by grinding down high spots with a diamond grinder. For low spots, use a self-leveling concrete or epoxy patching compound, following the manufacturer's instructions for mixing and pouring. Spread the material with a gauge rake and allow it to cure fully. After curing, check the floor again with a straightedge. If needed, repeat the process until the surface is flat. Then clean and etch the concrete before applying epoxy.
How long should concrete repairs cure before applying epoxy?
Cure time depends on the product and conditions. Most concrete patching compounds need at least 24 to 48 hours before you can coat them, but some rapid-set products allow coating in as little as 4 to 6 hours. Self-leveling concrete typically requires 24 to 72 hours. Always check the manufacturer's data sheet. Humidity and temperature affect curing; cool, damp conditions extend the time. Applying epoxy too soon traps moisture and can cause bubbles or delamination.
What should you do if concrete is soft or crumbling before applying epoxy?
Soft or crumbling concrete cannot support an epoxy coating. You must remove all deteriorated material using a chipping hammer or grinder until you reach sound concrete. Then fill the area with a structural patching compound designed for vertical or overhead repairs if needed. If the damage is widespread or the slab is structurally compromised, consult a professional. Applying epoxy over weak concrete will lead to failure, no matter how well you prep the surface.
Tags: fix uneven concrete, how to fix uneven concrete for epoxy, self-leveling concrete under epoxy, grinding high spots in concrete, repairing cracks in concrete before epoxy
Frequently Asked Questions
No. Epoxy is a thin coating that follows the contour of the slab, so any unevenness will show through and can cause premature wear or peeling. You must fix uneven concrete before applying epoxy. If the floor is not flat, you'll need to grind high spots, fill low spots with a patching compound or self-leveling concrete, and repair cracks. Skipping this step is the top reason DIY epoxy floors fail within a year or two.
Start by grinding down high spots with a diamond grinder. For low spots, use a self-leveling concrete or epoxy patching compound, following the manufacturer's instructions for mixing and pouring. Spread the material with a gauge rake and allow it to cure fully. After curing, check the floor again with a straightedge. If needed, repeat the process until the surface is flat. Then clean and etch the concrete before applying epoxy.
Cure time depends on the product and conditions. Most concrete patching compounds need at least 24 to 48 hours before you can coat them, but some rapid-set products allow coating in as little as 4 to 6 hours. Self-leveling concrete typically requires 24 to 72 hours. Always check the manufacturer's data sheet. Humidity and temperature affect curing; cool, damp conditions extend the time. Applying epoxy too soon traps moisture and can cause bubbles or delamination.
Soft or crumbling concrete cannot support an epoxy coating. You must remove all deteriorated material using a chipping hammer or grinder until you reach sound concrete. Then fill the area with a structural patching compound designed for vertical or overhead repairs if needed. If the damage is widespread or the slab is structurally compromised, consult a professional. Applying epoxy over weak concrete will lead to failure, no matter how well you prep the surface.