ultimate-guide
What Is Self-Leveling Epoxy Flooring? 2026 Guide
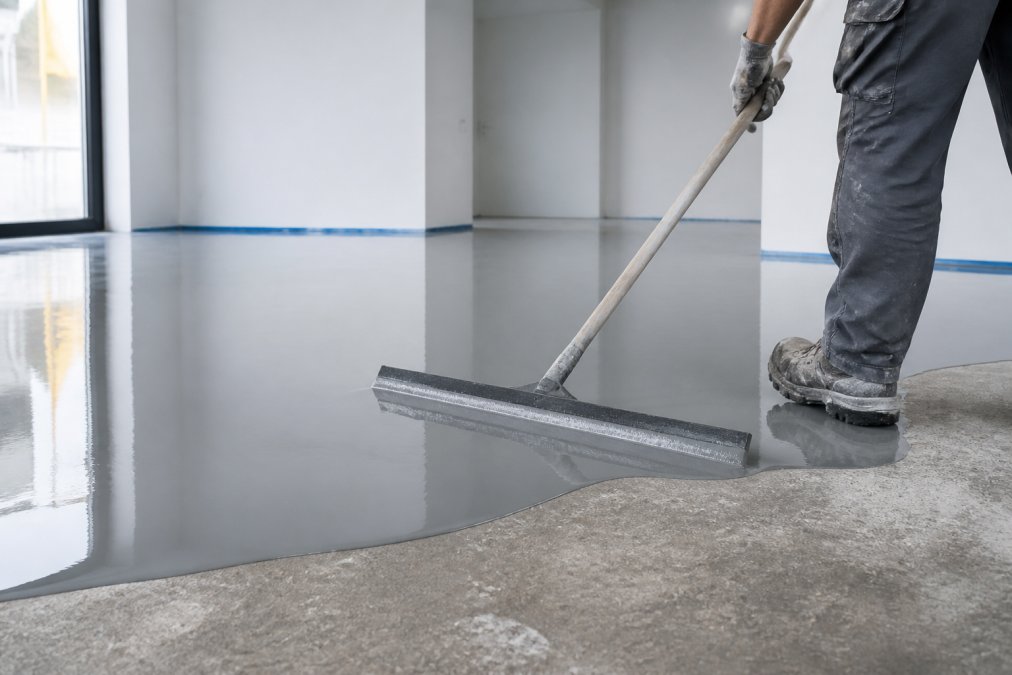
Table of Contents
- What Is Self-Leveling Epoxy Flooring?
- How Self-Leveling Epoxy Differs From Standard Epoxy
- Epoxy Flooring Cost Per Square Foot: What to Expect
- Self-Leveling Epoxy Drying Time and Curing Process
- DIY vs. Professional Installation Risks
- Epoxy Flooring Maintenance Tips for Long-Term Durability
- Is Self-Leveling Epoxy Right for Your Concrete Floor?
- Frequently Asked Questions
Last Updated: September 9, 2026
What Is Self-Leveling Epoxy Flooring?
Self-leveling epoxy flooring is a seamless, high-build coating system applied as a liquid that spreads itself into a perfectly flat, smooth surface before curing into a durable, monolithic floor. Unlike brushed or rolled coatings that leave ridges and brush marks, this material uses gravity and its own viscosity to create a level plane, making it the go-to choice for restoring damaged concrete. Our team has spent over 20 years applying these systems, and the most common question we hear is whether the material can truly fix an ugly, cracked slab. The answer is yes, provided the substrate is prepared correctly.
The practical appeal is straightforward: a liquid-rich formula flows into cracks, spalls, and pitted surfaces, filling imperfections and producing a smooth finish that resists stains, chemicals, and abrasion.
How Self-Leveling Epoxy Differs From Standard Epoxy
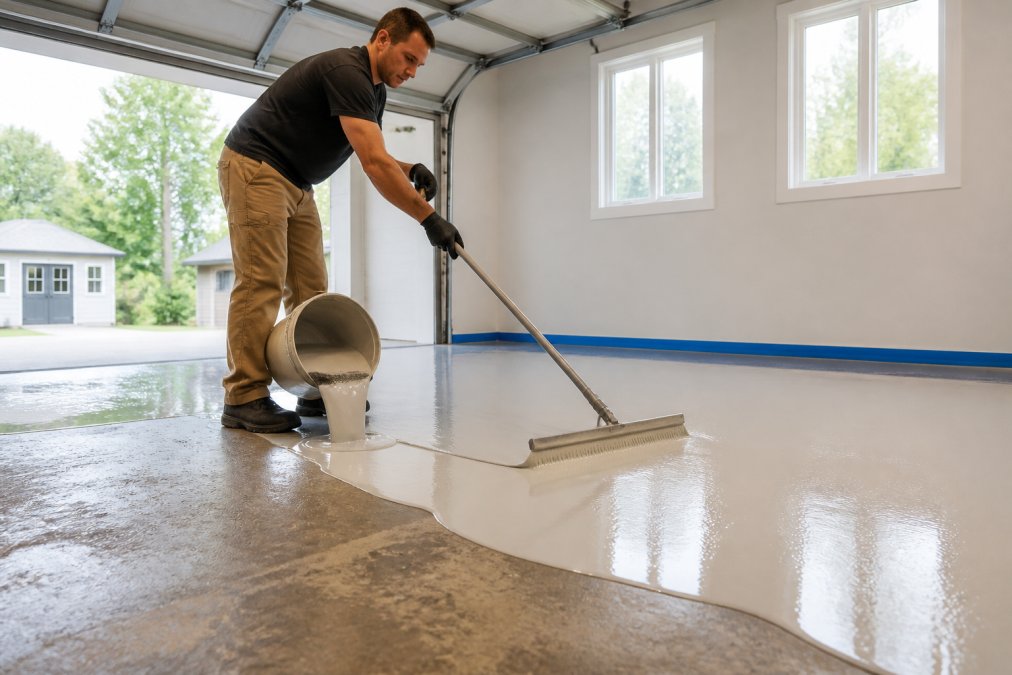
The core difference comes down to application method and film thickness. Standard epoxy is a thinner coating designed to be rolled or brushed on in thin layers, typically achieving around 10 to 15 mils (astm.org). Self-leveling epoxy, by contrast, is applied at much higher mil thickness, often 20 mils or more, and it is poured rather than painted.
That thicker profile is what allows self-leveling systems to hide substrate imperfections. A standard coating will telegraph every crack and divot through to the surface. A self-leveling system bridges those defects, creating a smooth plane, making it the preferred choice for concrete resurfacing projects where the existing slab is spalled, pitted, or uneven but still structurally sound.
Another key distinction is the addition of quartz aggregate or other fillers in some self-leveling formulas, which improve slip resistance and compressive strength for industrial traffic areas. Standard epoxy, left smooth, can become dangerously slick when wet.
Epoxy Flooring Cost Per Square Foot: What to Expect
Self-leveling epoxy flooring costs more upfront than standard paint-on epoxy, but the price gap narrows quickly when you factor in longevity and performance. For a professionally installed system, pricing depends on the specific requirements of the project, including surface preparation, primer, the self-leveling epoxy body coat, and a protective topcoat. Contact us for a free estimate.
To understand where your project falls on that spectrum, break the estimate into its component parts:
Surface preparation, $1.50 to $3.50 per square foot. This is the largest variable and the most common source of budget overruns. Concrete that is clean, dry, and uncoated may only need a light diamond grind. A slab with old paint, mastic, or curing compounds requires multiple grinding passes or shot blasting. Crack filling with a rigid or semi-rigid epoxy mortar adds another $0.50 to $1.50 per linear foot.
Moisture mitigation, $2 to $5 per square foot. If a calcium chloride moisture vapor test reveals readings above 3 pounds per 1,000 square feet per 24 hours, a standard epoxy system will fail (icri.org). The fix is either a moisture-mitigating primer (around $0.75 per square foot in material) or, in severe cases, a broadcast aggregate and resin system. Professional contractors test for this before quoting a firm price; a quote that skips moisture testing is a red flag.
Material costs, $2.50 to $4.50 per square foot. A quality 100% solids self-leveling epoxy costs $80 to $150 per gallon kit, and coverage rates run 50 to 80 square feet per kit at the recommended 20 to 30 mil thickness. Solvent-based or water-based products are cheaper per gallon but require multiple coats to reach the same film build, erasing the savings. Add a urethane topcoat for UV protection or chemical resistance, and material costs climb another $0.75 to $1.25 per square foot.
Labor, $2 to $5 per square foot. Professional installation is not optional for large or damaged slabs. The crew must grind, clean, prime, mix in small batches, pour, spread with a gauge rake, and de-air with a spiked roller, all within a 20- to 30-minute pot life per batch. Skilled labor commands a premium because mistakes are expensive to reverse.
For a typical two-car garage, a complete professional self-leveling epoxy installation involves various costs. The same project with a DIY kit involves material costs, but only works if the slab is in near-perfect condition. When you factor in the rental of a floor grinder, the risk of a failed pour, and the cost of remediation, the DIY savings may be less significant, with none of the warranty protection.
Self-Leveling Epoxy Drying Time and Curing Process
Self-leveling epoxy drying time depends on the product formulation, ambient temperature, and humidity, but most systems allow foot traffic within 12 to 24 hours. Full cure, meaning the floor can handle heavy loads and chemical exposure, typically takes 5 to 7 days.
After pouring and spreading, the material must be "de-aired" with a spiked roller to release trapped air bubbles. Pot life, the window you have to work the material before it thickens, is often short, sometimes just 20 to 30 minutes. This is why mixing accurate batches and working in sections is critical.
Temperature swings affect the outcome. Cold conditions slow the cure and can cause blush or a waxy film. Heat accelerates it, shrinking your working time. Most manufacturers recommend an ambient temperature between 60°F and 80°F (sika.com).
DIY vs. Professional Installation Risks
The temptation to save money with a DIY kit is understandable, but the risks are substantial. Most product failures trace back to inadequate surface preparation. A self-leveling epoxy relies on a mechanical bond to the substrate. If the concrete is not profiled correctly through diamond grinding or shot blasting, the coating will delaminate.
Professional crews also manage moisture vapor transmission. Concrete slabs, especially those on grade, release moisture. If the vapor pressure is too high, it will push through the coating and cause blisters. Testing for this requires specialized equipment that most homeowners do not own.
Call (919) 824-5403 or email craigrfear@gmail.com for a free estimate →
Beyond the technical execution, professionals bring warranties and accountability. If the floor fails in year three, a contractor returns to fix it. A homeowner who pours their own floor has no recourse. When you factor in the cost of a failed DIY attempt, including grinding off the botched coating, professional installation often proves more economical.
Epoxy Flooring Maintenance Tips for Long-Term Durability
A properly installed self-leveling epoxy floor is one of the lowest-maintenance flooring systems available, but "low maintenance" is not the same as "no maintenance." The difference between a floor that looks new for 15 years and one that dulls within five comes down to a consistent care routine and prompt attention to damage.
Daily and weekly care. The single biggest threat to an epoxy floor is abrasive grit tracked in from outside. Sand and dirt act like sandpaper under foot traffic, microscratching the topcoat and dulling its gloss. A daily sweep or dust mop removes this grit before it does damage. In a commercial warehouse, an automatic scrubber with soft nylon brushes running daily will keep the surface free of abrasive debris.
Damp mopping protocol. Once a week, or more often in high-traffic areas, damp mop with a neutral pH cleaner diluted according to the manufacturer's instructions. Most epoxy-safe cleaners have a pH between 7 and 9. Avoid anything acidic, vinegar, citrus cleaners, or bathroom tile cleaners, as these can etch the topcoat over time. Also avoid oil-based degreasers that leave a slippery film. For oil stains, use a degreasing product specifically formulated for epoxy, let it dwell for 10 to 15 minutes, then agitate with a soft brush and rinse thoroughly.
Immediate spill response. While cured epoxy is highly chemical-resistant, no coating is impervious to everything. Hot tire pickup, brake fluid, and battery acid are the three most common garage floor threats. Wipe up spills promptly, within minutes for battery acid, which can etch even a quality topcoat if left overnight. For industrial environments, check the epoxy system's chemical resistance chart against the specific chemicals used in your facility. A standard bisphenol A epoxy will resist many dilute acids and alkalis, but concentrated solvents like acetone or methyl ethyl ketone can soften the surface.
Repairing scratches and chips. A light scratch in the topcoat is cosmetic and can often be buffed out with a floor burnisher. A deeper gouge that penetrates through the epoxy to the concrete allows moisture and chemicals to undermine the bond, and the damage will spread. Repair requires grinding the damaged area, cleaning it, and reapplying a patch of self-leveling epoxy. For small areas, a two-part epoxy patching compound applied with a trowel works well. For anything larger than a few square inches, call a professional, a visible patch line is the tradeoff for stopping delamination before it spreads.
The total cost of ownership advantage. A typical residential garage floor with a professionally installed self-leveling epoxy system involves an upfront investment. Annual maintenance costs are generally low, including a neutral pH cleaner, a dust mop, and occasional replacement of scrubber pads. Over many years, total ownership costs are competitive.
Compare that to polished concrete. The initial grinding and polishing can be similar to epoxy. However, polished concrete requires periodic re-densification and re-polishing to maintain its sheen, which adds to long-term costs. Sealed tile or interlocking floor tiles involve material costs but require ongoing replacement of damaged tiles and cleaning of grout lines. And bare concrete? The cost of frequent sweeping, periodic degreasing, and the eventual need for a full resurfacing can make it a more expensive option over the long run.
For commercial facilities, a periodic maintenance recoat, applying a fresh urethane or epoxy topcoat every 5 to 7 years, extends the floor's life indefinitely. This can be a more cost-effective approach than tearing out and replacing a failed flooring system, which is why facility managers who track lifecycle costs often choose self-leveling epoxy over cheaper alternatives that fail early.
Is Self-Leveling Epoxy Right for Your Concrete Floor?
Self-leveling epoxy is the right choice when you need a seamless, durable, and attractive surface over a concrete slab that is structurally sound but cosmetically failing. It excels in garages, basements, showrooms, warehouses, and pool decks where abrasion, chemicals, and moisture are daily concerns.
It is not the right choice for every scenario. Exterior surfaces exposed to constant UV sunlight may yellow or chalk over time, making a urethane cement or a UV-stable topcoat a better option. Floors with severe structural cracks or ongoing slab movement need concrete repair before any coating is considered.
| Consideration | Self-Leveling Epoxy | Alternative (Urethane Cement) |
|---|---|---|
| Impact resistance | High | Excellent |
| Chemical resistance | Good | Superior |
| UV stability | Moderate | High |
| Typical use | Garages, showrooms, warehouses | Food plants, exterior, extreme chemicals |
If you are weighing a floor restoration project, the deciding factors are your traffic levels, exposure conditions, and budget. For most residential and light commercial applications, a professionally installed self-leveling epoxy delivers the best balance of performance and value. The Concrete-Enhancements team has applied these systems for over two decades, and we recommend scheduling a site evaluation to test moisture levels and confirm the substrate is ready. As a CTi Certified Dealer, we back our craftsmanship with real experience. Call (919) 824-5403 or email craigrfear@gmail.com for a free estimate.
Frequently Asked Questions
What is the difference between standard epoxy and self-leveling epoxy?
Standard epoxy uses a higher-viscosity resin that you roll or brush onto a surface, leaving a thinner film. Self-leveling epoxy has a liquid-rich formula that flows out on its own to create a perfectly smooth, seamless floor. It fills minor cracks, pits, and low spots without heavy manual spreading. The self-leveling type produces a thicker coating, often measured in mil thickness, which adds durability and impact resistance for garages, basements, and commercial spaces.
When should you not use epoxy flooring?
Epoxy flooring is not the right choice when your concrete has significant structural damage, ongoing moisture vapor transmission issues, or frequent exposure to standing water. Extremely hot environments or floors that face heavy thermal shock may perform better with urethane cement. If you are looking for a purely decorative finish on outdoor pool decks, epoxy can become slippery and fade with UV exposure, so a textured overlayment or slip-resistant additive is a better route.
How long does it take epoxy to self level?
Self-leveling epoxy typically cures enough for foot traffic within 12 to 24 hours, but you should wait 3 to 7 days before parking vehicles on it or moving heavy equipment back into place. The exact drying time depends on the product's pot life, the coating thickness, humidity, and floor temperature. Cooler or damp conditions extend the curing window. Always check the manufacturer's data sheet and confirm the floor is ready before heavy use.
How long will epoxy last on a floor?
A professionally installed self-leveling epoxy floor lasts 10 to 20 years in residential settings and 5 to 10 years under heavy industrial traffic. Longevity depends on surface preparation, coating thickness, and maintenance. A floor installed over properly profiled concrete with a primer application will bond mechanically and resist peeling. Regular cleaning with a soft mop and pH-neutral cleaner extends the service life and keeps the glossy finish looking new.
Tags: self-leveling epoxy, what is self-leveling epoxy flooring, epoxy flooring cost per square foot, self-leveling epoxy drying time, epoxy flooring maintenance tips
Frequently Asked Questions
Standard epoxy uses a higher-viscosity resin that you roll or brush onto a surface, leaving a thinner film. Self-leveling epoxy has a liquid-rich formula that flows out on its own to create a perfectly smooth, seamless floor. It fills minor cracks, pits, and low spots without heavy manual spreading. The self-leveling type produces a thicker coating, often measured in mil thickness, which adds durability and impact resistance for garages, basements, and commercial spaces.
Epoxy flooring is not the right choice when your concrete has significant structural damage, ongoing moisture vapor transmission issues, or frequent exposure to standing water. Extremely hot environments or floors that face heavy thermal shock may perform better with urethane cement. If you are looking for a purely decorative finish on outdoor pool decks, epoxy can become slippery and fade with UV exposure, so a textured overlayment or slip-resistant additive is a better route.
Self-leveling epoxy typically cures enough for foot traffic within 12 to 24 hours, but you should wait 3 to 7 days before parking vehicles on it or moving heavy equipment back into place. The exact drying time depends on the product's pot life, the coating thickness, humidity, and floor temperature. Cooler or damp conditions extend the curing window. Always check the manufacturer's data sheet and confirm the floor is ready before heavy use.
A professionally installed self-leveling epoxy floor lasts 10 to 20 years in residential settings and 5 to 10 years under heavy industrial traffic. Longevity depends on surface preparation, coating thickness, and maintenance. A floor installed over properly profiled concrete with a primer application will bond mechanically and resist peeling. Regular cleaning with a soft mop and pH-neutral cleaner extends the service life and keeps the glossy finish looking new.