how-to
Cost of Concrete Preparation for Epoxy: 2026 Guide
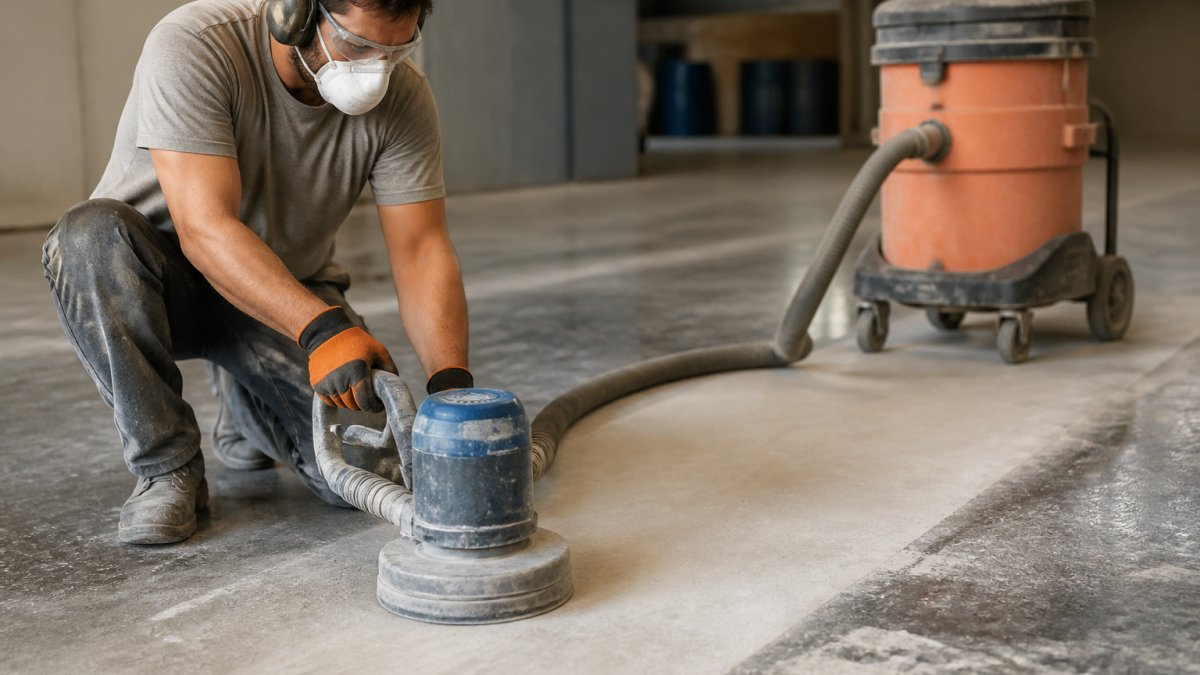
Table of Contents
- What Drives the Cost of Concrete Preparation for Epoxy
- How to Prep Concrete for Epoxy: A Step-by-Step Breakdown
- Concrete Grinding Cost and Other Mechanical Preparation Methods
- Concrete Crack Repair Cost Before Epoxy: What to Budget
- Concrete Moisture Testing for Epoxy and Mitigation Costs
- Material Costs vs. Labor Costs in Concrete Preparation
- How to Estimate Your Concrete Preparation Cost
- Conclusion: Getting an Accurate Preparation Quote
- Frequently Asked Questions
Last Updated: October 6, 2026
What Drives the Cost of Concrete Preparation for Epoxy
The cost of concrete preparation for epoxy depends on three things: slab size, surface condition, and access.
At Concrete-Enhancements, we have prepped residential and commercial slabs for more than 20 years, and the pattern never changes: a clean, sound, dry slab is cheap to prep, while a cracked, oily, damp slab is not.
Below, we break down each cost driver, the prep methods that fit each situation, and how to build your own estimate.
Size, Condition, and Access: The Three Biggest Variables
Square footage sets the baseline. Prep is priced by area, so a 400-square-foot garage floor and a 4,000-square-foot warehouse differ mostly by scale.
Surface condition is the wildcard. Sound concrete needs light work. Spalling, failed coatings, and oil stains can double or triple prep time.
Access decides how fast crews can work. Tight basements, occupied retail spaces, and pool decks with no equipment path slow everything down.
How to Prep Concrete for Epoxy: A Step-by-Step Breakdown
Prep follows a fixed order. Skip a step and the coating pays for it later.
- Clear the space and inspect the slab for cracks, stains, and coating remnants
- Degrease and clean the surface
- Repair cracks, spalling, and chips
- Test for moisture
- Grind or etch to open the surface profile
- Vacuum and re-inspect before coating
Cleaning, Degreasing, and Pressure Washing
Cleaning is the cheapest step and the most often rushed. Oil, grease, and dirt block adhesion, and no coating bonds to a contaminated slab.
- Degreasers break down oil and shop spills
- Pressure washing lifts dirt from driveways, patios, and pool decks
- Scrubbers handle stubborn tire marks and food-service grease
Let the slab dry fully before moving on; trapped moisture causes bubbles and delamination within months.
Repairing Cracks, Spalling, and Surface Damage
Cracks and spalling must be filled before grinding, not after. Loose concrete gets cut out and patched with a repair mortar matched to the slab.
Hairline cracks are quick work, but wide cracks, craters, and flaked areas take longer and add material cost. If damage is widespread, resurfacing the whole slab may cost less than patching piece by piece.
Concrete Grinding Cost and Other Mechanical Preparation Methods
Concrete grinding cost is usually the largest single prep line item, and the method you choose changes both the price and how well the epoxy bonds.
Here is how the common methods compare on cost, speed, and what they actually do to the slab.
| Method | Typical Cost Range (per sq ft) | Best For | Trade-Off |
|---|---|---|---|
| Diamond grinding | $0.50-$1.50 | Most residential and commercial floors, light coating removal | Dust control required; leaves visible swirl marks |
| Shot blasting | $0.40-$1.25 | Large industrial slabs, heavy coating removal | Not for tight spaces; can damage thin or weak concrete |
| Acid etching | $0.10-$0.30 | Light prep on sound, uncoated concrete | Weak, uneven profile; will not remove coatings or sealers |
| Scarifying | $0.75-$2.00 | Thick coatings, mastics, and membranes | Aggressive and slow; can leave deep grooves |
| Hand tooling / needle scaling | $1.00-$3.00 | Corners, edges, and tight areas machines cannot reach | Labor-intensive; slow on large areas |
Cost ranges vary with slab size, access, and how much material must come off.
Diamond Grinding
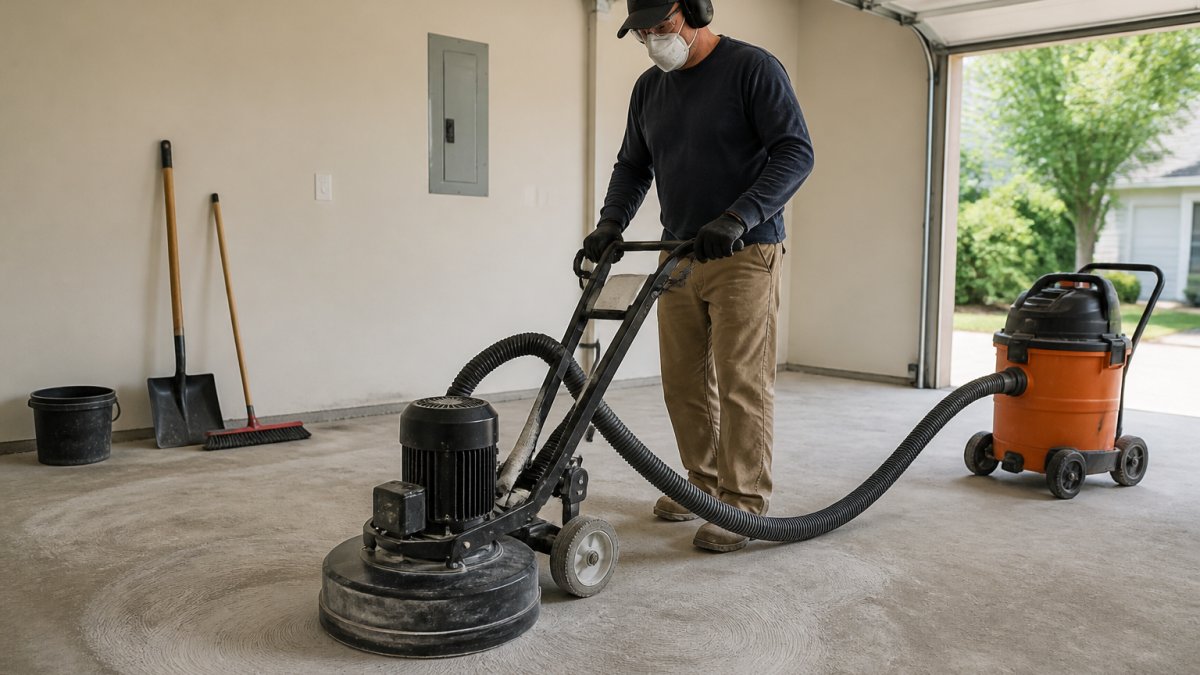
Diamond grinding uses a walk-behind or handheld machine with segmented diamond tooling. It opens the concrete's pores, removes old coatings, sealers, and contamination, and produces a consistent CSP 2-3 profile in one pass.
The trade-off is dust. Grinding generates fine silica dust, so crews run dust shrouds and HEPA vacuums, and occupied spaces may need containment. That equipment adds to the labor line, not materials.
Shot Blasting
Shot blasting fires steel shot at the slab to fracture off the top layer. It is fast on large open slabs and handles heavy coating removal well, but it is a poor fit for tight basements, closets, and rooms with obstacles, and it can damage thin or weak concrete.
Acid Etching
Acid etching is the cheapest method and the one most likely to fail. It opens the surface slightly, but the profile is uneven, it does not remove coatings or sealers, and it leaves residue that must be neutralized and rinsed. If a contractor proposes etching alone on a coated or contaminated slab, ask why.
Scarifying and Hand Tooling
Scarifying uses rotating cutters to remove thick coatings, mastics, and membranes that would clog a grinder. It is aggressive and slow, and it can leave deep grooves that need patching before coating. Hand tooling and needle scaling handle corners, edges, and tight areas machines cannot reach, and they are priced by the hour rather than the square foot.
Matching Method to Slab Condition
The method should follow the slab, not the other way around:
- Sound, uncoated concrete: diamond grinding to CSP 2-3
- Coated concrete: diamond grinding or shot blasting, depending on coating thickness and slab size
- Weak, spalling, or flaking concrete: mechanical prep will not fix it; the slab needs repair or resurfacing first
Concrete Crack Repair Cost Before Epoxy: What to Budget
Concrete crack repair cost before epoxy depends on how many cracks you have and how deep they run. A few hairline cracks are a minor add-on.
Watch for these warning signs:
- Cracks wider than a credit card
- Cracks that have grown since you last looked
- Hollow sounds when you tap the slab
If you see any of these, get the slab assessed before committing to a coating. Covering a moving crack with epoxy is a temporary fix at best.
Coating over a crack that is still moving traps the problem under a hard shell. The crack telegraphs through the epoxy within a season, and the repair means removing the coating to fix it properly.
Call (919) 824-5403 or email craigrfear@gmail.com for a free estimate →
Concrete Moisture Testing for Epoxy and Mitigation Costs
Concrete moisture testing for epoxy is non-negotiable. Moisture rising through a slab is the number one cause of coating failure, and it is invisible until the blisters show up.
Test methods include:
- Plastic sheet test for a quick read on vapor movement
- Calcium chloride test for a measured vapor rate
- In-situ relative humidity probes for the most accurate result
If moisture is high, mitigation adds cost: a moisture-blocking primer or a full vapor barrier system. Both cost more than the test, but far less than a failed floor.
Material Costs vs. Labor Costs in Concrete Preparation
Material cost in prep covers diamond blades, patch mortar, degreasers, sealers, and moisture primers.
Why? Because prep is slow, physical work: grinding a garage floor takes hours, a warehouse takes days.
Prep is where cutting corners shows up first. A cheap prep job means a coating that fails early, and the redo costs more than doing it right the first time.
How to Estimate Your Concrete Preparation Cost
Most guides tell you prep is a price driver and stop there. The estimate has four parts: cleaning, repair, mechanical prep, and moisture mitigation. Add them up, then add a contingency for what is hiding under old coatings.
Step 1: Measure and Classify the Slab
Measure the square footage. Then classify the slab into one of three condition tiers, because the tier drives every line below it.
- Tier 1, Sound and clean: no cracks wider than a hairline, no oil or grease, no existing coating, no moisture issues
- Tier 2, Moderate: hairline cracks, light oil staining, a thin sealer or paint coating, or minor spalling
- Tier 3, Heavy: structural or moving cracks, widespread spalling, thick coatings or mastics, active moisture, or failed previous patches
Step 2: Estimate Each Prep Line
Use these ranges as a starting point. They reflect typical residential and light commercial work and run higher in tight access, occupied spaces, or heavy coating removal.
| Prep Line | Tier 1 | Tier 2 | Tier 3 |
|---|---|---|---|
| Cleaning and degreasing | $0.05-$0.15/sq ft | $0.15-$0.35/sq ft | $0.35-$0.75/sq ft |
| Crack and spall repair | $0-$0.10/sq ft | $0.25-$0.75/sq ft | $0.75-$2.00/sq ft |
| Mechanical prep (grinding, blasting) | $0.50-$1.00/sq ft | $0.75-$1.50/sq ft | $1.25-$2.50/sq ft |
| Moisture mitigation (if flagged) | $0 | $0.50-$1.25/sq ft | $1.00-$2.50/sq ft |
These are prep-only numbers. They exclude the epoxy coating, a separate line item that typically runs higher per square foot than prep on a Tier 1 slab.
Step 3: Run the Math on a Real Example
A 400-square-foot garage floor in Tier 2 condition with no moisture issue:
- Cleaning: 400 × $0.25 = $100
- Crack repair: 400 × $0.50 = $200
- Grinding: 400 × $1.00 = $400
The same slab in Tier 3 with moisture mitigation:
- Cleaning: 400 × $0.50 = $200
- Crack repair: 400 × $1.25 = $500
- Grinding: 400 × $1.75 = $700
Same square footage, nearly triple the prep cost. That is why two quotes for the same garage can look nothing alike.
Step 4: Add Contingency
Old coatings, mastics, and failed patches hide the slab's real condition. A common pattern is to add 10 to 20 percent for a Tier 2 slab and 20 to 30 percent for a Tier 3 slab. If grinding reveals something unexpected, the contingency covers it without a change order surprise.
Step 5: Decide DIY vs. Professional
You can rent a walk-behind grinder and handle a Tier 1 slab yourself, but equipment, diamond tooling, dust control, and disposal add up fast, and a mistake in the profile shows up as a failed coating.
Ask any contractor to break the prep quote into the four lines above: cleaning, repair, mechanical prep, and moisture mitigation. A quote that lists prep as one lump sum is hard to compare, and it hides where the money is going.
Conclusion: Getting an Accurate Preparation Quote
Prep is where epoxy floors succeed or fail, and it deserves the most scrutiny in any quote. A low number usually means the prep scope is thin.
Concrete-Enhancements has prepped and coated slabs across the Raleigh-Durham Triangle, NC Triad, and Coastal SC for over 20 years. As a CTi Certified Dealer, we handle decorative overlays, epoxy floor coatings, and professional concrete repair, and we test the slab before we quote the job.
Call (919) 824-5403 or email craigrfear@gmail.com for a free estimate. We will walk the slab, test the moisture, and give you a prep scope you can actually compare against other quotes.
Frequently Asked Questions
How much does it cost to prepare concrete for epoxy?
Preparation costs depend on square footage, slab condition, and the method needed. Cleaning and degreasing a sound slab costs far less than grinding, crack repair, or moisture mitigation. Contractors typically quote preparation as a separate line item from the epoxy coating system itself. Request a written estimate that lists each step, from surface profile to patching, so you can see exactly where the cost of concrete preparation for epoxy comes from.
What is the best way to prep concrete for epoxy?
Diamond grinding is the most reliable method for most residential and commercial slabs. It creates the surface profile epoxy needs for adhesion and removes existing coatings, sealers, and contamination. Acid etching works on bare, unsealed concrete but leaves salts behind that must be rinsed thoroughly. Shot blasting suits large industrial floors. The right choice depends on your slab's condition, which is why a site assessment matters before anyone quotes a price.
What concrete repairs are needed before applying epoxy?
Cracks, spalling, and delaminated areas must be repaired first, or the coating will fail over them. Structural cracks get filled with epoxy or polyurea patching compounds. Spalled areas are rebuilt with a repair mortar matched to the slab. If the surface has an existing coating that is peeling, it has to come off entirely. Moisture testing also matters: elevated moisture readings may require a mitigation primer before any coating goes down.
How long does concrete preparation take before epoxy can be applied?
A typical two-car garage takes one to two days to prepare, covering grinding, crack repair, and cleaning. Larger commercial floors or slabs needing moisture mitigation can take three to five days. Fresh concrete must cure for at least 28 days before preparation begins. Moisture testing adds time if the slab needs mitigation. Ask your contractor to include a preparation schedule in the estimate so you know when the coating phase starts.
Tags: concrete preparation, cost of concrete preparation for epoxy, concrete grinding cost, concrete crack repair cost before epoxy, how to prep concrete for epoxy, concrete moisture testing for epoxy
Frequently Asked Questions
Preparation costs depend on square footage, slab condition, and the method needed. Cleaning and degreasing a sound slab costs far less than grinding, crack repair, or moisture mitigation. Contractors typically quote preparation as a separate line item from the epoxy coating system itself. Request a written estimate that lists each step, from surface profile to patching, so you can see exactly where the cost of concrete preparation for epoxy comes from.
Diamond grinding is the most reliable method for most residential and commercial slabs. It creates the surface profile epoxy needs for adhesion and removes existing coatings, sealers, and contamination. Acid etching works on bare, unsealed concrete but leaves salts behind that must be rinsed thoroughly. Shot blasting suits large industrial floors. The right choice depends on your slab's condition, which is why a site assessment matters before anyone quotes a price.
Cracks, spalling, and delaminated areas must be repaired first, or the coating will fail over them. Structural cracks get filled with epoxy or polyurea patching compounds. Spalled areas are rebuilt with a repair mortar matched to the slab. If the surface has an existing coating that is peeling, it has to come off entirely. Moisture testing also matters: elevated moisture readings may require a mitigation primer before any coating goes down.
A typical two-car garage takes one to two days to prepare, covering grinding, crack repair, and cleaning. Larger commercial floors or slabs needing moisture mitigation can take three to five days. Fresh concrete must cure for at least 28 days before preparation begins. Moisture testing adds time if the slab needs mitigation. Ask your contractor to include a preparation schedule in the estimate so you know when the coating phase starts.