ultimate-guide
Best Garage Floor Coating for Heavy Use: 2026 Guide
Table of Contents
- What Separates Heavy-Duty Garage Floor Coatings From Standard Kits
- Polyurea vs Epoxy Garage Floor: Which Handles Heavy Loads Better
- How to Prepare Concrete for Heavy-Duty Epoxy and Polyurea Systems
- Comparing the Leading Heavy-Use Coating Systems
- Garage Floor Coating Maintenance Tips for High-Traffic Floors
- DIY vs Professional Installation: What Heavy Use Demands
- Cost Analysis and Value for Money
- Frequently Asked Questions
Last Updated: September 28, 2026
What Separates Heavy-Duty Garage Floor Coatings From Standard Kits
Walk through any garage where a coating failed within two years and you will usually find the same culprit: a thin, high-VOC product applied over concrete that was never properly prepared. At Concrete-Enhancements, we have spent over 20 years resurfacing concrete across the Raleigh-Durham Triangle and NC Triad, and the pattern is consistent. The best garage floor coating for heavy use is not the most expensive kit on the shelf.
Mil Thickness, Solids Content, and Why They Decide Durability
Mil thickness is the cured film depth of the coating, measured in thousandths of an inch. Solids content is the percentage of the liquid that remains as film after solvents flash off. A 100% solids epoxy deposits every ounce you apply as coating. A 50% solids product loses half its volume to evaporation, leaving a film half as thick as the puddle you spread.
The Performance Metrics That Actually Predict Failure
Four metrics separate coatings that last from coatings that peel:
- Adhesion (measured in psi via pull-off testing): how strongly the coating grips the concrete
- Tensile strength: how much pulling force the film withstands before tearing
- Abrasion resistance: how well it handles grit, tires, and dragged equipment
- Impact resistance: how it absorbs dropped tools and jack stands
Polyurea vs Epoxy Garage Floor: Which Handles Heavy Loads Better
The honest answer: it depends on what "heavy" means in your garage. Epoxy resin delivers superior adhesion and compressive strength on properly prepared concrete, which makes it the better choice for static loads like parked vehicles, shelving, and workshop equipment. Polyurea and polyaspartic coatings cure faster, stay flexible, and resist UV yellowing, which matters for driveways, aprons, and any slab that sees sunlight.
Cure Time, UV Stability, and Flexibility Compared
| Property | Epoxy | Polyurea / Polyaspartic |
|---|---|---|
| Cure time | 12-24 hours before traffic | 2-6 hours before traffic |
| UV stability | Yellows in direct sun | UV stable, no yellowing |
| Flexibility | Rigid, can crack under movement | Flexible, resists cracking |
| Adhesion | Excellent on prepared concrete | Good, more sensitive to moisture |
| Best use | Interior, heavy static loads | Exterior aprons, fast turnaround |
| Pot life | Longer working window | Short, requires fast application |
The trade-off is real. Epoxy gives you time to work and grips aggressively. Polyurea gives you speed and sun resistance but demands a disciplined, quick application. Neither is universally better.
How to Prepare Concrete for Heavy-Duty Epoxy and Polyurea Systems
Preparation decides the outcome more than the product does. A common mistake is skipping mechanical profiling and relying on acid etching alone. Etching opens the surface but does not remove contaminants, laitance, or old sealers the way diamond grinding or shot blasting does.
Moisture Vapor Transmission Testing Before You Coat
Concrete releases water vapor from below for years. If that vapor pressure exceeds what the coating can tolerate, you get blistering and delamination, no matter how good the product is. Test before you coat:
- Calcium chloride test: measures the rate of moisture vapor transmission from the slab
- Plastic sheet test: a simple field check for visible moisture
- Relative humidity probe: measures moisture inside the slab itself
Comparing the Leading Heavy-Use Coating Systems
No single product wins every scenario. Here is how the leading systems stack up for heavy-use garages and commercial floors.
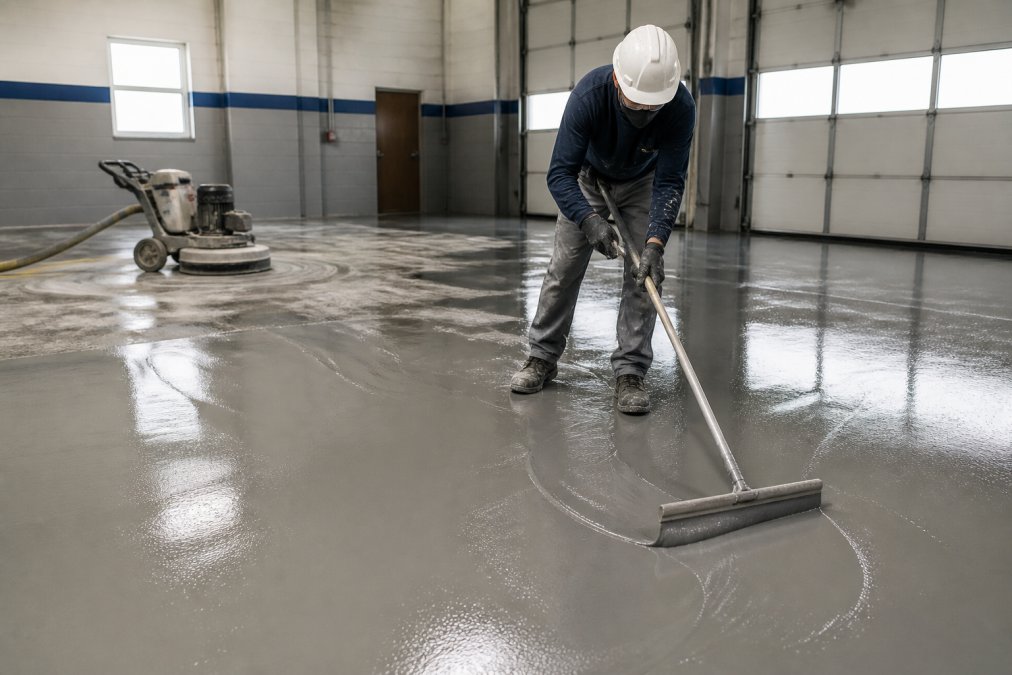
Concrete-Enhancements Epoxy Flooring Systems
Our top recommendation for heavy-use floors in this region. Concrete-Enhancements is a CTi Certified Dealer with over 20 years of experience installing decorative overlays, epoxy floor coatings, and professional repairs. The advantage is not just the material. It is the substrate preparation, moisture testing, and installation discipline that a certified installer brings.
ArmorGarage Epoxy Flooring Systems
ArmorGarage builds professional-grade epoxy engineered for high-impact resistance and chemical durability. Its formulations target hot tire pickup and road salt deterioration, both of which matter in cold-climate garages. The catch: it demands professional-grade surface preparation, so DIY installation rarely does it justice.
Garage Flooring LLC Polyurea 2-Coat Kit
This polyurea system delivers a 10-12 mil total build with a UV stable finish that resists yellowing. It cures fast, which means a quick return to service, and its flexibility helps it resist cracking. The trade-off is a short working window. You have to apply it quickly and accurately or the finish suffers.
Call (919) 824-5403 or email craigrfear@gmail.com for a free estimate →
Rust-Oleum EpoxyShield and Other DIY Options
Rust-Oleum EpoxyShield is the accessible choice, available at major retailers and marketed as five times stronger than one-part epoxy. It resists gasoline, antifreeze, and motor oil, and it costs a fraction of professional systems. Where it falls short is film build and durability. Most DIY kits are lower-solids products that wear through in traffic lanes and struggle under heavy loads.
Garage Floor Coating Maintenance Tips for High-Traffic Floors
A properly installed heavy-duty floor needs surprisingly little upkeep, but the habits you build in the first year determine how long it lasts.
- Sweep or blow out grit weekly; abrasives grind into the finish under tires
- Clean spills of oil, brake fluid, and solvents promptly; even chemical-resistant coatings have limits
- Use a pH-neutral cleaner rather than harsh degreasers, which can dull the topcoat
- Add slip resistance in wet zones with a texture additive or a maintenance topcoat
- Recoat high-wear lanes before the base coat is exposed, not after
- Keep a small repair kit on hand for chips and impact damage
DIY vs Professional Installation: What Heavy Use Demands
Heavy use exposes every shortcut. A DIY kit installed over an unprepared slab will peel within a year or two, and the failure usually starts at the edges and traffic lanes where stress concentrates. Professional installation costs more up front because it includes grinding, crack repair, moisture testing, and proper film build.
Cost Analysis and Value for Money
Pricing for garage floor coatings varies widely based on square footage, slab condition, moisture mitigation needs, and system selection. But the variation is not random, it follows a predictable structure, and understanding that structure is what separates a fair quote from an inflated one.
Where the Money Actually Goes
A professional heavy-duty coating quote breaks into four cost buckets, roughly in this order of magnitude:
- Surface preparation, diamond grinding, shot blasting, crack repair, and edge work. This is often the largest single line item and the one DIY kits skip entirely. It is also the reason professional systems last and retail kits do not.
- Materials, base coat, broadcast aggregate, topcoat, and any moisture mitigation primer. A 100% solids epoxy base with a polyaspartic topcoat costs materially more per square foot than a single-component DIY kit, because the solids content is higher and the chemistry is more expensive.
- Labor, application time, cure scheduling, and finish work. Fast-cure systems reduce downtime but demand more skilled labor per hour.
- Moisture mitigation, if testing shows elevated vapor transmission, this adds a discrete line item. It is not optional, and a quote that omits it without testing is a red flag.
The Cost-Per-Year Framework
The value calculation is not the sticker price, it is cost divided by service life. A cheap coating that fails in three years and requires full removal and recoating costs more per year of service than a professional system that lasts 15 to 20 years, even at three or four times the upfront price. The removal cost on a failed coating is the hidden variable most homeowners miss: grinding off a delaminated floor costs nearly as much as installing a new one.
What Drives Your Quote Up or Down
- Square footage: larger slabs lower the per-square-foot rate because setup and mobilization are amortized.
- Slab condition: cracks, spalling, and old coatings add prep time.
- Moisture: mitigation adds cost but prevents the most expensive failure mode.
- System selection: epoxy base with polyaspartic topcoat sits at the higher end; single-component DIY kits sit at the bottom.
- Access and scheduling: tight spaces, occupied buildings, and after-hours work raise labor cost.
How to Compare Quotes Fairly
Ask every contractor for the same four things: the system specification (solids content and total mil build), the preparation method (grinding, blasting, or etching), the moisture test results, and the warranty terms. A quote that is 30% cheaper almost always differs on one of those four, usually preparation or film build. Compare specifications, not just totals.
Frequently Asked Questions
What is the most durable garage floor coating for heavy equipment?
For heavy equipment and constant traffic, a 100% solids epoxy or polyurea system applied at 10-20 mils thickness outperforms water-based DIY kits. These high-build coatings resist impact, abrasion, and hot tire pickup far better than standard epoxy. Polyaspartic topcoats add UV stability and faster cure times, making them a strong choice for commercial garages where downtime matters. Proper substrate preparation, including diamond grinding and moisture testing, is just as important as the coating itself.
Is epoxy or polyurea better for high-traffic garage floors?
Polyurea cures faster, stays flexible, and resists UV yellowing better than standard epoxy, which makes it ideal for garages with heavy traffic and sun exposure. Epoxy offers excellent adhesion and chemical resistance at a lower material cost, but it can become brittle and yellow over time. Many professional systems combine a epoxy base coat with a polyaspartic topcoat to get the best of both: strong adhesion plus UV stability and fast return to service.
How long does a professional-grade garage floor coating last under heavy use?
A properly installed high-build epoxy or polyurea system typically lasts 10-20 years in a residential garage and 5-10 years in a commercial setting with constant heavy traffic. Lifespan depends on film thickness, substrate preparation, and maintenance. Coatings that are too thin or applied over a contaminated or moist slab can fail within 1-2 years. Regular cleaning and prompt repair of chips or scratches extend the coating's life significantly.
Can I apply heavy-duty garage floor coatings myself?
You can apply DIY kits like Rust-Oleum EpoxyShield, but they typically achieve only 2-4 mils thickness and are not designed for heavy equipment or constant chemical exposure. Professional-grade 100% solids systems require diamond grinding, moisture testing, and precise mixing ratios. Without proper surface preparation, even the best coating will peel or delaminate. For garages with heavy use, hiring a certified installer is usually the more reliable path.
Tags: garage floor coating, best garage floor coating for heavy use, polyurea vs epoxy garage floor, how to prepare concrete for heavy-duty epoxy, garage floor coating maintenance tips
Frequently Asked Questions
For heavy equipment and constant traffic, a 100% solids epoxy or polyurea system applied at 10-20 mils thickness outperforms water-based DIY kits. These high-build coatings resist impact, abrasion, and hot tire pickup far better than standard epoxy. Polyaspartic topcoats add UV stability and faster cure times, making them a strong choice for commercial garages where downtime matters. Proper substrate preparation, including diamond grinding and moisture testing, is just as important as the coating itself.
Polyurea cures faster, stays flexible, and resists UV yellowing better than standard epoxy, which makes it ideal for garages with heavy traffic and sun exposure. Epoxy offers excellent adhesion and chemical resistance at a lower material cost, but it can become brittle and yellow over time. Many professional systems combine a epoxy base coat with a polyaspartic topcoat to get the best of both: strong adhesion plus UV stability and fast return to service.
A properly installed high-build epoxy or polyurea system typically lasts 10-20 years in a residential garage and 5-10 years in a commercial setting with constant heavy traffic. Lifespan depends on film thickness, substrate preparation, and maintenance. Coatings that are too thin or applied over a contaminated or moist slab can fail within 1-2 years. Regular cleaning and prompt repair of chips or scratches extend the coating's life significantly.
You can apply DIY kits like Rust-Oleum EpoxyShield, but they typically achieve only 2-4 mils thickness and are not designed for heavy equipment or constant chemical exposure. Professional-grade 100% solids systems require diamond grinding, moisture testing, and precise mixing ratios. Without proper surface preparation, even the best coating will peel or delaminate. For garages with heavy use, hiring a certified installer is usually the more reliable path.