blog
7 Epoxy Flooring Options for Basements That Last
Last Updated: October 25, 2026
Quick Summary
Epoxy flooring for basements ranges from budget solid color coatings to metallic, flake, self-leveling, mortar, urethane-topcoat, and anti-slip systems, each matched to a room and slab condition. For most homeowners, a flake system over a properly ground slab balances cost, durability, and looks. Moisture testing and diamond grinding decide whether the coating lasts.
- Solid color epoxy is the cheapest option but shows dust and scuffs and needs aggregate for wet areas.
- Paint chip flake systems hide slab flaws and suit laundry rooms, mudrooms, and playrooms.
- Metallic epoxy is the least slip-resistant decorative option when wet and highlights every slab flaw.
- Diamond grinding, not acid etching, is required for the epoxy to bond to concrete.
- High-build epoxy mortar is the thickest system, built for forklift traffic and heavy storage.
Table of Contents
- Why Epoxy Flooring Fits Basement Concrete
- The 7 Epoxy Flooring Options for Basements Compared
- How to Prepare a Basement Floor for Epoxy
- Moisture Testing and Vapor Mitigation Before You Coat
- Choosing the Best Epoxy for Basement Floors
- Epoxy vs. Polyaspartic Basement Floor: Which Holds Up Better?
- What Drives Epoxy Basement Floor Cost
- Get a Basement Floor Assessment Before You Commit
- Frequently Asked Questions
Why Epoxy Flooring Fits Basement Concrete
Epoxy flooring is a two-part resin coating that bonds to a prepared concrete slab, forming a hard, seamless surface that resists moisture, stains, and impact.
The fit isn't automatic. Concrete that stays damp, or a slab with no vapor barrier beneath it, will peel a coating off within a season or two.
American Concrete Institute guidance on slab moisture and coating adhesion
The 7 Epoxy Flooring Options for Basements Compared
Not every epoxy basement floor is the same product. The options below differ in build thickness, finish, slip resistance, and surface prep demand, and each is tied to a basement condition and a maintenance profile.
| Option | Build | Typical installed cost | Slip resistance (wet) | Best For | Watch Out For |
|---|---|---|---|---|---|
| Solid color epoxy | 2-3 coats | Lowest of the seven | Low unless aggregate added | Budget, utility spaces | Shows dust and scuffs |
| Paint chip / flake | Base coat + flake + topcoat | Moderate | Moderate to high, depending on flake density | Laundry, playrooms | Flake density affects texture |
| Metallic epoxy | Primer + metallic base + clear | Highest of the decorative systems | Low; glossy and slick when wet | Finished living space | Hides nothing underneath |
| Self-leveling overlay | Thick pour | High material cost | Depends on topcoat | Worn or uneven slabs | Higher material cost |
| High-build epoxy mortar | Primer + mortar + topcoat | High | Moderate | Heavy commercial traffic | Needs skilled install |
| Epoxy with urethane topcoat | Full system | Moderate to high | Depends on topcoat | Chemical exposure | Extra cure time |
| Epoxy with anti-slip aggregate | Full system + grit | Moderate add-on | High | Wet zones, stairs | Grit can trap dirt |
Square footage, slab condition, and moisture results move the number more than the system name. Treat the column as a ranking, not a quote.
Solid Color Epoxy Coatings
The simplest and most economical option: two or three coats of pigmented two-part epoxy give a uniform, easy-to-clean surface. It suits storage rooms and utility areas where durability matters more than looks. Slip resistance is the weak point, so if the room sees water, add an anti-slip additive to the final coat.
Best for: Budget-conscious utility spaces. Skip if: You want a floor that hides dust between cleanings, or the room gets wet underfoot.
Paint Chip and Decorative Flake Systems
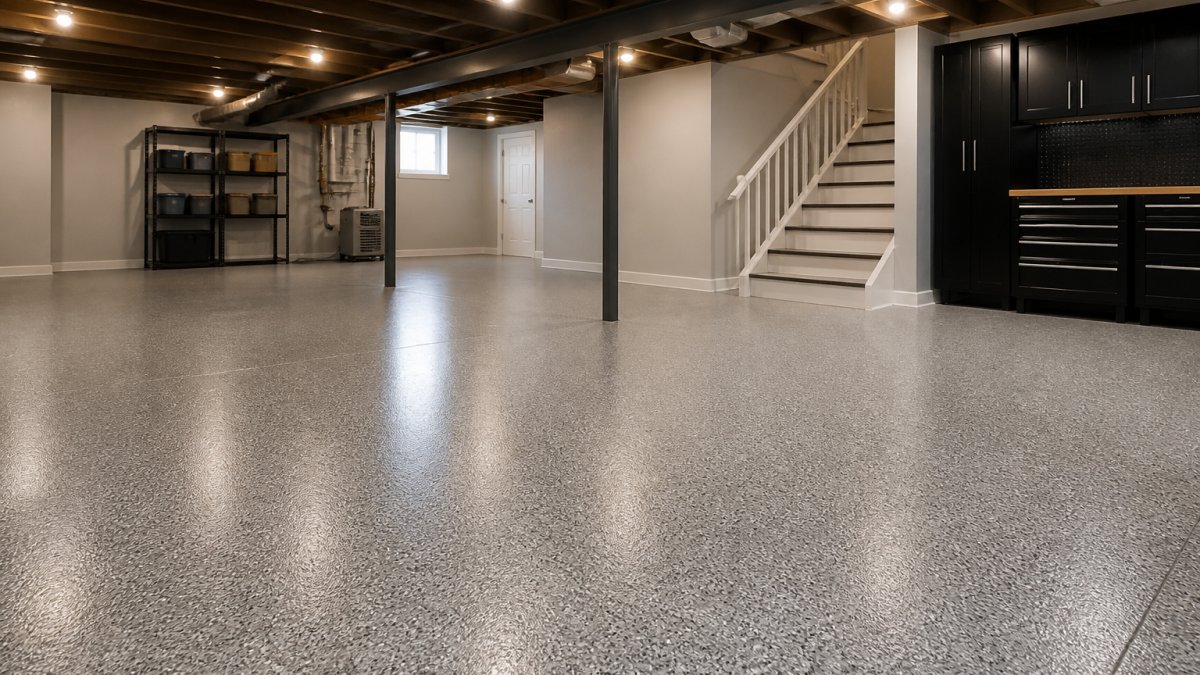
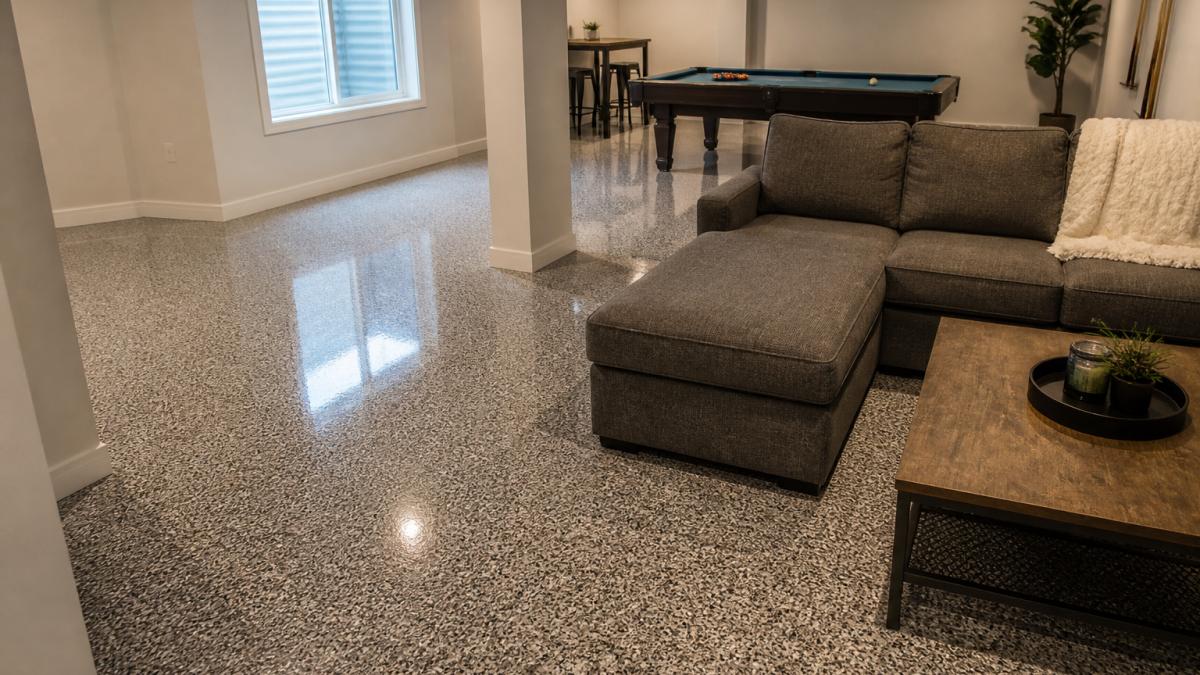
A base coat, broadcast decorative flakes, then a clear topcoat. The flakes hide surface imperfections and add slip resistance, making this the most popular choice for laundry rooms and playrooms.
Best for: Laundry, mudrooms, playrooms, and any basement room where the slab has minor cosmetic flaws. Skip if: You want a monolithic, high-gloss look; flake texture reads as speckled, not mirror-like.
Metallic Epoxy Finishes
Metallic pigments create a marbled, reflective, high-end look in a three-part system: primer, metallic base, clear topcoat. Beautiful in a finished living space, unforgiving over a rough slab, since the gloss highlights every flaw.
Best for: Finished living space where appearance is the priority and the slab is in good condition. Skip if: The slab has spalls, cracks, or patching that you want hidden.
Self-Leveling Epoxy Overlays
A thick, self-leveling pour that fills minor pits and levels small dips. What is self-leveling epoxy flooring covers how it works, its costs, and maintenance.
Best for: Worn, pitted, or slightly uneven slabs that would telegraph through a thin coat. Skip if: The slab has structural cracks or heaving; leveling compound will not fix a moving slab.
High-Build Epoxy Mortar Systems
A primer, troweled epoxy mortar body coat, and topcoat. This is the thickest build in the list, specified for forklift traffic, heavy storage, and commercial kitchens. It's overkill for a typical residential basement and demands a skilled installer for a flat, uniform surface.
Best for: Home gyms with heavy equipment, workshops, and light commercial basement space. Skip if: Budget is the priority; the material and labor premium is significant.
Epoxy with Urethane Topcoat
A standard epoxy base with a urethane clear coat instead of epoxy as the finish layer. Urethane adds chemical and abrasion resistance and resists the ambering epoxy topcoats can develop.
Best for: Basements used for auto work, chemical storage, or hobby shops with solvent exposure. Skip if: You need the floor back in service the same day.
Epoxy with Anti-Slip Aggregate
A full epoxy system with grit broadcast into the final coat, the option to specify for stairs, sloped floors, and any basement zone that sees water. The trade-off is texture: grit traps dust and is harder to mop, so many installers use finer aggregate in living areas and coarser on stairs.
Best for: Wet zones, stairs, basement bathrooms, and laundry rooms. Skip if: You want a perfectly smooth, easy-mop surface and the room stays dry.
How to Prepare a Basement Floor for Epoxy
Surface preparation decides whether the coating lasts, not the brand on the bucket. Diamond grinding opens the concrete's pores so the epoxy can bond; acid etching and a mop are not a substitute. Our sequence:
- Clear the room and check the slab for cracks and efflorescence
- Diamond grind the full surface with a dust-collecting grinder
- Repair cracks and fill spalls with an epoxy patching compound
- Grind or scarify edges and corners a grinder can't reach
- Vacuum and wipe the slab until it's dust-free
- Test moisture and confirm the slab is ready
- Apply primer, then the base coat and topcoat per the system spec
Skipping the grind is the single most common reason a DIY epoxy job peels: a coating bonds to the concrete's profile, and a smooth troweled slab has none. Our cost of concrete preparation for epoxy guide shows what grinding and crack repair add to your project.
Moisture Testing and Vapor Mitigation Before You Coat
Moisture is the make-or-break variable in a basement. A slab with no vapor barrier can pass water vapor upward continuously, and trapped vapor pushes a coating off from below.
If the readings come back high, you have options: a moisture-tolerant primer, a dedicated vapor barrier coating, or a different floor altogether. Our epoxy floor moisture barrier guide covers testing methods and application steps.
U.S. Environmental Protection Agency guidance on moisture control in basements
Choosing the Best Epoxy for Basement Floors
The best epoxy for basement floors is matched to your slab's moisture condition, traffic, and finish goals, not the cheapest kit on the shelf. Match the system to the room:
- Utility and storage: solid color epoxy, two coats
- Laundry and mudrooms: flake system with a textured topcoat
- Finished living space: metallic or flake with a clear topcoat
For most homeowners, a flake system over a properly ground slab hits the best balance of cost, durability, and looks.
Epoxy vs. Polyaspartic Basement Floor: Which Holds Up Better?
Epoxy wins on build thickness; polyaspartic wins on cure speed and UV stability. Epoxy cures over roughly a day and hardens for several more, while polyaspartic is walkable within hours and resists yellowing in sunlight.
For a basement with no direct sun, epoxy's UV weakness rarely matters, and its thicker film handles abrasion better. See our polyaspartic vs epoxy durability comparison for the full breakdown.
What Drives Epoxy Basement Floor Cost
Epoxy basement floor cost depends on square footage, slab condition, moisture results, and the system you choose. The useful version separates the three cost pools and frames the decision as lifecycle value rather than sticker price.
The three cost pools
1. Surface preparation. Diamond grinding, crack repair, spall patching, and edge work. Efflorescence, old adhesive, or a failed previous coating adds removal time.
2. Moisture mitigation. If testing shows high vapor transmission, a moisture-tolerant primer or dedicated vapor barrier coating adds material and a step.
3. The coating system itself. A thin solid-color coat is the least expensive system.
Relative installed cost bands
Because prep and moisture work dominate, honest pricing comes in bands, not a single number. A utility-room solid-color system sits at the low end; flake for a family room in the middle; metallic, mortar, and urethane-topcoat systems at the high end. The spread between cheapest and most expensive on the same slab is typically a multiple, not a percentage.
Lifecycle value, not just first cost
A properly prepped and moisture-tested epoxy floor is a long-service-life product; the failure mode is almost always prep or moisture, not the resin. The cheapest kit that fails in two years costs more than a mid-range system that lasts. Maintenance is minimal (damp mop, occasional neutral cleaner), and the seamless surface eliminates the grout lines and seams that trap dirt in tile or sheet goods.
What to ask a contractor for
- A written scope that names the prep method (diamond grinding, not acid etch)
- Moisture test results and the mitigation specified if readings are high
- The system build (primer, base, broadcast, topcoat) and the product line
We quote after an on-site assessment, because pricing depends on your specific conditions. Contact us for a current quote rather than relying on a national average.
Get a Basement Floor Assessment Before You Commit
A coating is only as good as the slab beneath it, and no article can tell you what your concrete is doing. You can also read customer reviews and testimonials from homeowners across the region.
Concrete-Enhancements has spent more than 20 years resurfacing concrete across the region, and as a CTi Certified Dealer we install decorative overlays and epoxy coatings to manufacturer spec.
Frequently Asked Questions
Is epoxy a good idea for a basement floor?
Epoxy works well on basement concrete when the slab is dry and sound. It forms a hard, seamless surface that resists moisture at the surface, cleans easily, and handles foot traffic and storage. The catch is moisture: hydrostatic pressure or high vapor transmission from below will push a coating off the slab, so testing before installation is non-negotiable. On a dry slab with proper prep and a primer, epoxy flooring for basements holds up for years.
What is the best epoxy for basement floors?
For most basements, a two-part epoxy primer plus a base coat with decorative flakes and a urethane or polyaspartic topcoat gives the best balance of moisture resistance, slip resistance, and wear. A 100% solids epoxy resists moisture vapor better than water-based kits. If the slab reads high on a calcium chloride test, a moisture-mitigating primer or vapor barrier system is the right call before any epoxy goes down.
Can epoxy flooring be installed over a damp basement floor?
No. Epoxy will not bond to a damp slab, and trapping moisture under a coating leads to blistering, peeling, and mold growth at the edges. Test first with a plastic sheet test or calcium chloride test, then address the source. A moisture-mitigating primer or vapor barrier lets you coat slabs with elevated vapor transmission, but standing water or active seepage has to be fixed before any coating system is installed.
How long does epoxy basement flooring last?
A professionally installed epoxy system on a properly prepared slab is a long-lasting product, depending on traffic and topcoat choice. DIY kits that skip diamond grinding and primer often peel. A urethane or polyaspartic topcoat extends service life and resists yellowing. Occasional cleaning and prompt repair of chips keep the floor in service longer.
The difference between a basement floor that lasts a decade and one that peels in a year usually comes down to preparation and moisture, not the product label. If you're ready to stop guessing, get started with Concrete-Enhancements and book a free on-site assessment. Call (919) 824-5403 or email craigrfear@gmail.com for a free estimate.

Tags: epoxy flooring, epoxy flooring options for basements, best epoxy for basement floors, epoxy basement floor cost, epoxy vs. polyaspartic basement floor, how to prepare a basement floor for epoxy
Frequently Asked Questions
Epoxy works well on basement concrete when the slab is dry and sound. It forms a hard, seamless surface that resists moisture at the surface, cleans easily, and handles foot traffic and storage. The catch is moisture: hydrostatic pressure or high vapor transmission from below will push a coating off the slab, so testing before installation is non-negotiable. On a dry slab with proper prep and a primer, epoxy flooring for basements holds up for years.
For most basements, a two-part epoxy primer plus a base coat with decorative flakes and a urethane or polyaspartic topcoat gives the best balance of moisture resistance, slip resistance, and wear. A 100% solids epoxy resists moisture vapor better than water-based kits. If the slab reads high on a calcium chloride test, a moisture-mitigating primer or vapor barrier system is the right call before any epoxy goes down.
No. Epoxy will not bond to a damp slab, and trapping moisture under a coating leads to blistering, peeling, and mold growth at the edges. Test first with a plastic sheet test or calcium chloride test, then address the source. A moisture-mitigating primer or vapor barrier lets you coat slabs with elevated vapor transmission, but standing water or active seepage has to be fixed before any coating system is installed.
A professionally installed epoxy system on a properly prepared slab is a long-lasting product, depending on traffic and topcoat choice. DIY kits that skip diamond grinding and primer often peel. A urethane or polyaspartic topcoat extends service life and resists yellowing. Occasional cleaning and prompt repair of chips keep the floor in service longer.