how-to
Polyurethane Topcoat Over Epoxy: Key Benefits
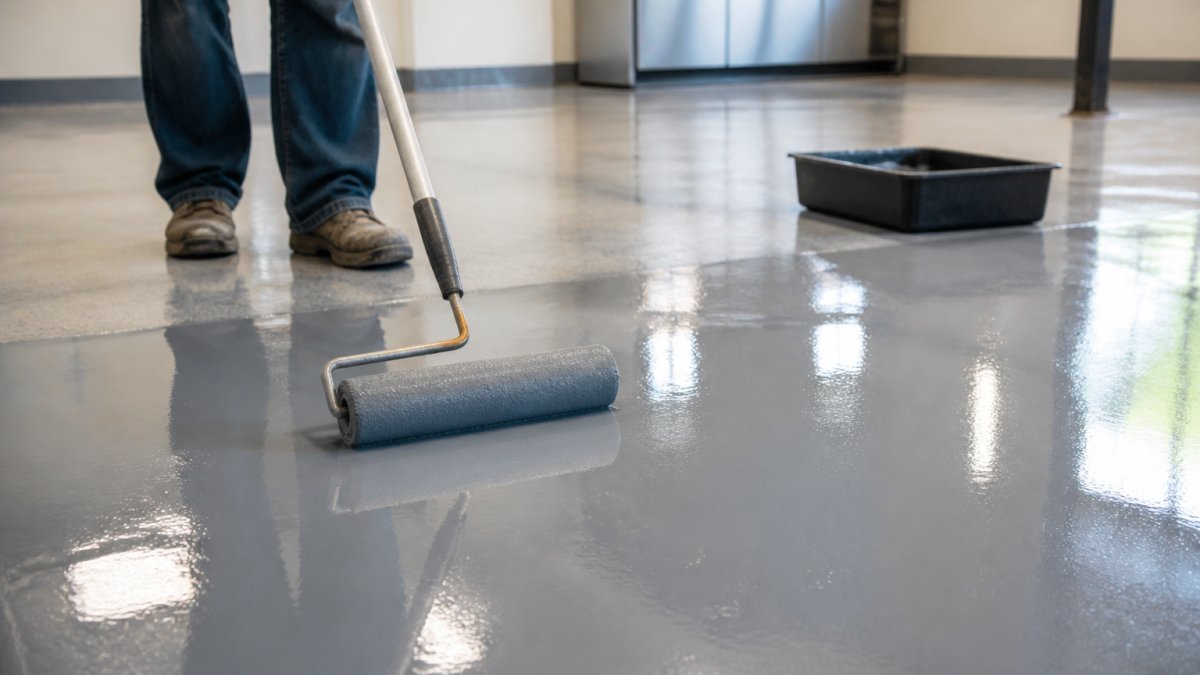
Table of Contents
- Polyurethane Topcoat Over Epoxy: What It Actually Adds
- Epoxy vs Polyurethane Floor Coating: Core Differences
- How to Apply Polyurethane Over Epoxy
- Polyurethane Over Epoxy Cure Time and Conditions
- Epoxy Floor Clear Coat: When a Topcoat Makes Sense
- Drawbacks and Limits of a Polyurethane Topcoat
- Safety, Ventilation, and Common Application Mistakes
- Frequently Asked Questions
Last Updated: October 14, 2026
Polyurethane Topcoat Over Epoxy: What It Actually Adds
A polyurethane topcoat over epoxy adds a UV-stable, flexible clear coat that resists yellowing, scratching, and wear.
At Concrete-Enhancements, we have applied epoxy systems for over 20 years across garages, warehouses, and pool decks.
Here is the key insight most guides skip: polyurethane is not a stronger epoxy. It is a different material doing a different job.
Below, we break down what a polyurethane topcoat actually adds, when it makes sense, and how to apply it without trapping moisture or ruining adhesion.
Epoxy vs Polyurethane Floor Coating: Core Differences
Epoxy and polyurethane are not competing products. They are two layers of one coating system.
Think of it like a house. Epoxy is the foundation and framing. Polyurethane is the roof and paint.
| Property | Epoxy (Base Coat) | Polyurethane (Topcoat) |
|---|---|---|
| Hardness | Very hard, rigid | Hard but flexible |
| UV stability | Poor, yellows in sun | Excellent, stays clear |
| Scratch resistance | Moderate | High |
| Chemical resistance | High | Moderate to high |
| Flexibility | Low | High |
| Best role | Build thickness, bond | Protect and finish |
The American Concrete Institute guidance on protective coatings notes that coating systems work best when each layer matches its exposure. That is exactly why epoxy and polyurethane pair so well.
Hardness and Flexibility Trade-Offs
Epoxy cures rock-hard, resisting impact and heavy loads, which is why warehouses love it. But hard also means brittle: a rigid epoxy floor can crack under movement, thermal expansion, or a dropped tool. Polyurethane bends, absorbing small impacts instead of shattering. The trade-off is that polyurethane alone is too soft to be a base coat; it needs epoxy underneath for structure.
UV Stability and Yellowing
This is the headline benefit. Epoxy yellows and chalks when UV light hits it; a garage floor near a sunny driveway shifts from clear to amber within a couple of seasons. Polyurethane resists that. A UV-stable topcoat keeps the color and clarity of your floor intact, which matters even more for metallic or decorative floors, because yellowing kills the look entirely.
How to Apply Polyurethane Over Epoxy
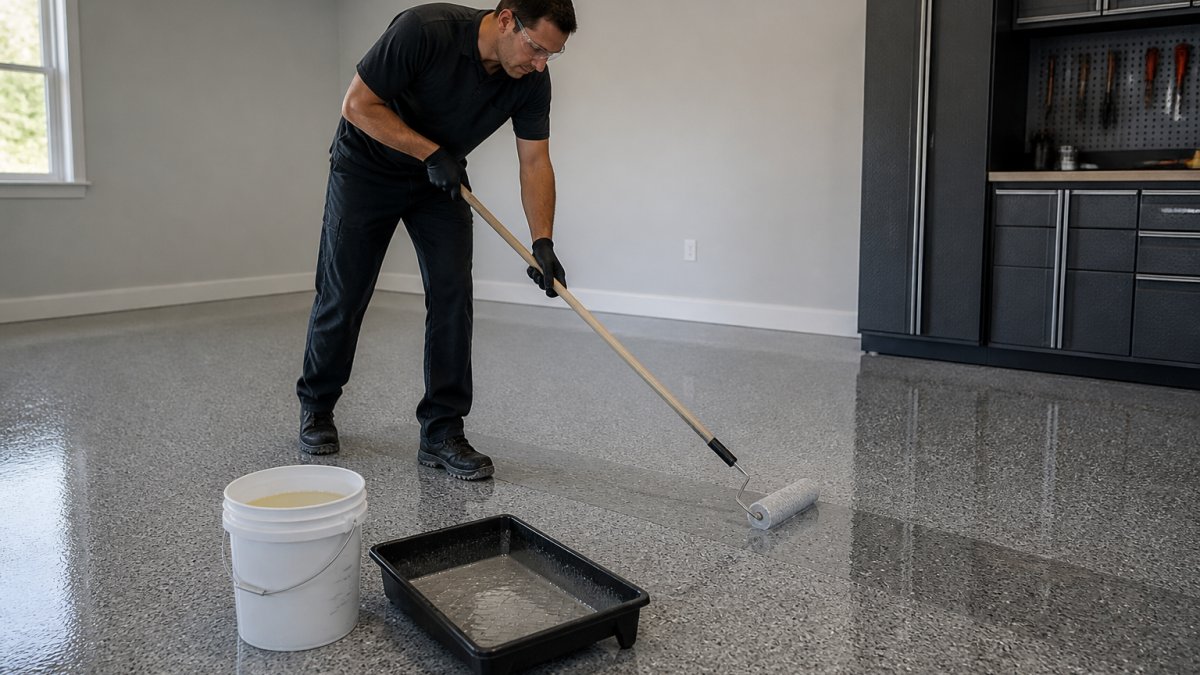
Applying polyurethane over epoxy takes four phases: confirm the epoxy is fully cured, prep the surface, mix the topcoat, and roll it on in thin, even passes. Timing is everything.
Phase 1: Confirm the Epoxy Is Fully Cured
"Dry" and "cured" are not the same thing. A 100% solids epoxy typically reaches a recoat window in 12 to 24 hours at 70°F, but solvent- or water-based epoxy may need 24 to 72 hours.
Two checks before you sand:
- Tape test. Press a strip of high-tack tape onto a small area, wait a minute, and pull. Lifting or a chalky residue means the epoxy is still curing.
- Solvent rub. Wipe a rag dampened with the manufacturer's recommended solvent (often xylene or acetone for solvent-based systems) across a test patch. If the epoxy softens or smears, wait another day.
If you miss the recoat window and the epoxy has fully hardened, you must sand to create a mechanical bond. There is no chemical shortcut at that point.
Phase 2: Prep the Surface
A glossy epoxy surface repels topcoat. The finish will peel within months if you skip this phase.
- Scuff sand. Use 80- to 120-grit sandpaper or a 60- to 80-grit screening pad on a floor buffer. The goal is a uniformly dull surface, not bare concrete.
- Vacuum. Remove all dust with a HEPA vacuum. A shop vac without a HEPA filter just redistributes fines.
- Wipe with solvent. Use the solvent the topcoat manufacturer specifies, typically xylene, acetone, or a manufacturer-branded prep wipe. Let it flash off completely before coating.
- Tack. Run a tack cloth or lint-free rag over the surface immediately before mixing.
Phase 3: Mix the Polyurethane
Mixing errors are the second most common cause of failure after poor prep.
- Measure by volume, not by eye. Most two-part polyurethanes are mixed at a specific ratio (commonly 2:1 or 4:1). Off-ratio batches cure soft, tacky, or not at all.
- Stir, then let it sit. Allow the product to induction-time for the period the label specifies, often 5 to 30 minutes. Skipping this traps air and shortens pot life.
- Respect pot life. Once mixed, you have a working window (often 30 to 60 minutes at 70°F). Mix only what you can roll in that window; heat shortens it, cool extends it slightly.
Phase 4: Apply the Topcoat
- Cut in edges first. Brush corners, expansion joints, and wall lines before rolling the field.
- Roll in thin, overlapping passes. Use a 3/8-inch nap roller for smooth finishes or a 1/4-inch nap for thin-film topcoats. Keep a wet edge and overlap each pass by about 50%.
- Maintain a uniform film thickness. Most polyurethane topcoats are applied at 3 to 6 mils wet. Too thick risks bubbles and slow cure; too thin loses abrasion resistance.
- Back-roll if the label calls for it. Some products require a second pass with a dry roller to knock down bubbles.
- Respect the recoat window. Apply a second coat within the window the label states, often 12 to 24 hours. Miss it and you must sand again.
The biggest mistake is skipping the scuff and clean. A glossy epoxy surface repels the topcoat, and the finish peels within months.
Troubleshooting: Fisheyes, Bubbles, and Delamination
- Fisheyes (small craters). Caused by silicone, oil, or incompatible cleaners on the surface. Re-clean with the correct solvent and add a fisheye eliminator only if the label permits it.
- Bubbles. Usually from epoxy off-gassing, over-thick application, or a roller that introduces air. Confirm cure, apply thinner coats, and back-roll.
- Delamination. Almost always a prep failure, no scuff, no solvent wipe, or a missed recoat window. The fix is to strip the topcoat, sand the epoxy, and start over.
Polyurethane Over Epoxy Cure Time and Conditions
Polyurethane over epoxy cure time depends on the product, temperature, and humidity. Most topcoats dry to the touch in a few hours, accept light foot traffic within a day, and fully cure in several days.
- Ideal temperature: moderate, stable, and within the product's stated range
- Ideal humidity: low to moderate
- Airflow: good ventilation speeds cure and clears fumes
The Occupational Safety and Health Administration guidance on ventilation is clear that solvent-based coatings need real airflow, not just an open door. Plan your cure around the weather, not against it.
Call (919) 824-5403 or email craigrfear@gmail.com for a free estimate →
Epoxy Floor Clear Coat: When a Topcoat Makes Sense
An epoxy floor clear coat makes sense whenever the floor sees sunlight, heavy foot traffic, or chemical spills. But the real decision is not yes-or-no, it is which type of polyurethane, and whether the added cost and labor are worth it for your floor.
A Simple Decision Framework
Ask four questions in order:
- Does the floor see direct or indirect UV? If yes, a UV-stable topcoat is not optional. Epoxy will amber within one to two seasons of sun exposure.
- What is the traffic type? Abrasion resistance matters most for rolling loads; impact flexibility matters most for dropped tools.
- What chemicals will hit it? Water, oil, brake fluid, and solvents each behave differently against a polyurethane film. Match the topcoat's chemical resistance to the actual exposure.
- What is the appearance goal? A clear topcoat preserves a decorative epoxy look; a pigmented topcoat changes the color entirely and is a different product decision.
If the answer to question 1 is no and the floor is lightly used indoors, you can reasonably skip the topcoat. Every other combination points toward adding one.
Water-Based vs Solvent-Based Polyurethane
This choice changes the job significantly.
| Factor | Water-Based Polyurethane | Solvent-Based Polyurethane |
|---|---|---|
| Odor | Low | Strong |
| VOCs | Lower | Higher |
| Dry time | Faster surface dry | Slower, longer recoat window |
| Appearance | Slightly less ambering resistance | Excellent clarity and depth |
| Application window | Shorter pot life in heat | More forgiving in cool conditions |
| Best over | Water-based epoxy, most 100% solids epoxy | Solvent-based epoxy, 100% solids epoxy |
| Ventilation need | Moderate | High, respirator required |
A common pattern is to match the topcoat chemistry to the epoxy underneath. A water-based polyurethane over a solvent-based epoxy can still work if the epoxy is fully cured and properly scuffed, but the risk of adhesion problems is higher. When in doubt, check the manufacturer's compatibility chart.
When to Skip the Topcoat
Skip it only if all of these are true:
- The floor stays out of UV light
- Traffic is light foot traffic only
- No chemical spills are expected
In that narrow case, the epoxy alone will hold up. Every other scenario benefits from a topcoat.
The Cost-Benefit Reality
A polyurethane topcoat adds material and labor, but it extends the service life of the epoxy base, preserves color and clarity, and reduces recoating frequency. For most clients the math works, because replacing a failed epoxy floor costs far more than protecting it in the first place.
Drawbacks and Limits of a Polyurethane Topcoat
A polyurethane topcoat is not a miracle layer. It has real limits.
- It is not a base coat. Polyurethane cannot replace epoxy's bonding and thickness.
- It needs a clean, scuffed surface. Poor prep means peeling.
- It can be slippery when wet. Add a slip-resistant additive for pool decks and garages.
The honest trade-off: you spend more up front, and the floor lasts longer and looks better. For most clients, that math works.
Safety, Ventilation, and Common Application Mistakes
Safety and ventilation are non-negotiable with polyurethane. Most topcoats contain solvents that irritate lungs and eyes.
Common mistakes we see:
- Applying over a damp or uncured epoxy
- Skipping the scuff and clean
- Mixing too much product and racing the clock
Each turns a good floor into a repair job. Follow the label, respect the timing, and the finish will hold.
A polyurethane topcoat over epoxy is one of the smartest upgrades you can make to a concrete floor, but only when it is applied at the right time, on the right surface, with the right prep.
Frequently Asked Questions
What are the main benefits of putting a polyurethane topcoat over epoxy?
A polyurethane topcoat adds UV stability so the floor resists yellowing and fading from sunlight, which matters for garage aprons, patios, and any slab that gets direct light. It also improves scratch and abrasion resistance, adds chemical and stain resistance against oil, solvents, and deicers, and gives the surface more flexibility so it absorbs impact instead of chipping. The epoxy underneath still supplies the bond and build; the topcoat handles wear and light exposure.
How long should epoxy cure before applying a polyurethane topcoat?
Most epoxy systems need 12 to 24 hours before a polyurethane topcoat goes on, but the recoat window matters more than the clock. Apply too early and solvent in the topcoat can disrupt the epoxy; wait past the window and the epoxy cures too hard for a mechanical or chemical bond. Humidity and temperature shift that window, so check the product data sheet and test a small area for tack before coating the full floor.
Does polyurethane adhere to an epoxy floor, and what preparation is needed?
Polyurethane bonds well to epoxy when the epoxy is clean, fully cured, and within its recoat window. If the window has passed, scuff the surface with a 120-grit screen or sanding pad, vacuum all dust, and wipe with a compatible solvent. Any oil, grease, or amine blush left on the epoxy will cause the topcoat to lift or peel. A small test patch confirms adhesion before you commit to the whole slab.
Can I use a clear coat over an epoxy floor that already has a color coat?
Yes. A clear polyurethane topcoat over a colored epoxy base is one of the most common floor builds because it protects the color layer from UV fade without changing the look. It also adds a uniform sheen and makes cleaning easier. Just confirm the topcoat is compatible with the specific epoxy you used, and add a slip-resistant aggregate if the floor will see water or foot traffic.
Tags: polyurethane topcoat, polyurethane topcoat over epoxy benefits, epoxy floor clear coat, polyurethane over epoxy cure time, how to apply polyurethane over epoxy
Frequently Asked Questions
A polyurethane topcoat adds UV stability so the floor resists yellowing and fading from sunlight, which matters for garage aprons, patios, and any slab that gets direct light. It also improves scratch and abrasion resistance, adds chemical and stain resistance against oil, solvents, and deicers, and gives the surface more flexibility so it absorbs impact instead of chipping. The epoxy underneath still supplies the bond and build; the topcoat handles wear and light exposure.
Most epoxy systems need 12 to 24 hours before a polyurethane topcoat goes on, but the recoat window matters more than the clock. Apply too early and solvent in the topcoat can disrupt the epoxy; wait past the window and the epoxy cures too hard for a mechanical or chemical bond. Humidity and temperature shift that window, so check the product data sheet and test a small area for tack before coating the full floor.
Polyurethane bonds well to epoxy when the epoxy is clean, fully cured, and within its recoat window. If the window has passed, scuff the surface with a 120-grit screen or sanding pad, vacuum all dust, and wipe with a compatible solvent. Any oil, grease, or amine blush left on the epoxy will cause the topcoat to lift or peel. A small test patch confirms adhesion before you commit to the whole slab.
Yes. A clear polyurethane topcoat over a colored epoxy base is one of the most common floor builds because it protects the color layer from UV fade without changing the look. It also adds a uniform sheen and makes cleaning easier. Just confirm the topcoat is compatible with the specific epoxy you used, and add a slip-resistant aggregate if the floor will see water or foot traffic.